⚡ Quick Summary
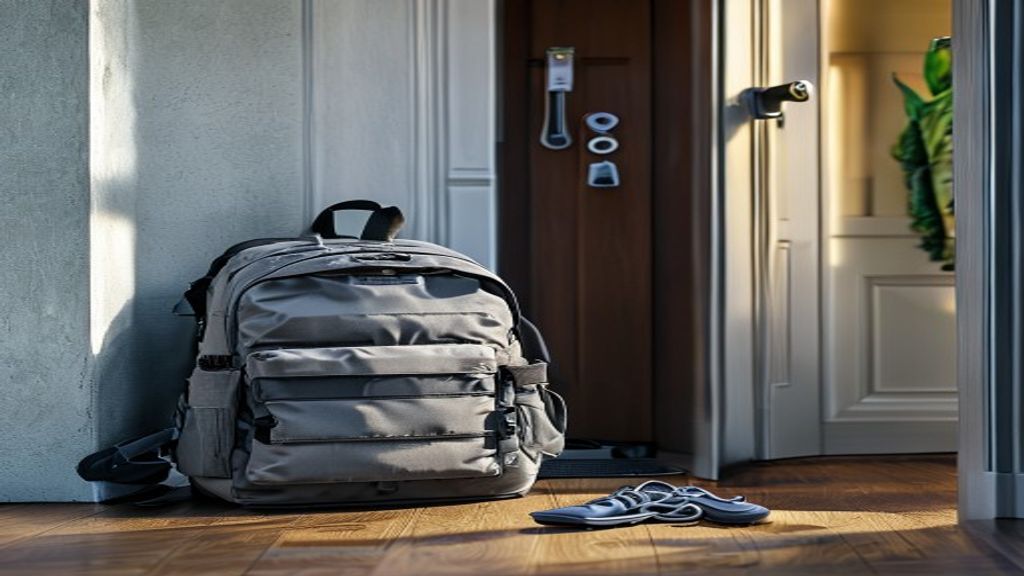
A Bug Out Bag (BOB) is a pre-packed emergency kit containing everything you need to survive for 72 hours when you have to leave home fast — no planning, no shopping, just grab and go.
Why 72 hours? That’s the window most emergency management agencies recommend. It covers the critical gap between disaster onset and when organized relief typically arrives. For apartment dwellers, those 72 hours may mean navigating gridlocked streets, overcrowded transit, and urban chaos — not a backcountry trail.
Your 3 Non-Negotiables:
- Water & filtration — Dehydration kills faster than hunger. Pack water and a way to purify more.
- Calories (compact food) — High-energy, no-cook food that won’t weigh you down or take up shelf space.
- First aid + communication — Treat injuries and stay informed. A radio and a basic urban first aid kit are non-optional.
Why Apartment Bug Out Bags Are Different
Most bug out bag checklists online are written for people with garages, basements, and a pickup truck in the driveway. If you live in an apartment, that advice doesn’t translate. Your constraints are fundamentally different — and your bug out bag checklist needs to reflect that reality.
Limited storage space is the most obvious factor. You don’t have a mudroom or a dedicated gear closet. Your bag has to live in a shared closet, under a bed, or behind a couch — without becoming an eyesore or a conversation piece. That means every item earns its spot or gets cut. If you need help maximizing tight spaces, check out these apartment gear storage hacks.
Evacuation routes are vertical before they’re horizontal. If you’re on the 8th floor and the power’s out, you’re taking the stairs with everything on your back. An overweight pack isn’t just uncomfortable — it’s dangerous on a crowded stairwell. Elevators are off-limits during fires and most structural emergencies.
Urban threats look different too. You’re not worried about bear encounters. You’re navigating traffic gridlock, potential civil unrest, infrastructure failures, and crowds of people doing the same thing you are. Your gear should be urban-practical and low-profile — think grey man theory, not tactical cosplay.
The “3 Layer” Bug Out Bag System
The fastest way to build a solid bug out bag checklist without overthinking it is the 3-Layer system. Each layer builds on the last, and if you can only grab Layer 1, you’ll still survive. This framework keeps you focused and prevents the most common mistake: packing gear you’ll never use while forgetting things that actually keep you alive.
🔴 Layer 1: Survival Core
This is your lifeline. Water, food, and medical supplies — the things that keep your body functioning for 72 hours. If your bag only had this layer, you’d still make it. Pack this first and consider it untouchable. Nothing gets swapped out of Layer 1 to make room for something “cooler.”
🟡 Layer 2: Mobility & Navigation
Once survival is covered, you need to move and stay informed. This layer includes lighting (headlamp), navigation (offline maps, compass), communication (emergency radio, whistle), and power (battery bank). Layer 2 turns you from a stationary survivor into someone who can make smart decisions and relocate effectively.
🟢 Layer 3: Comfort & Redundancy
Comfort items aren’t luxuries — they maintain morale and prevent small problems from becoming big ones. A change of clothes, basic hygiene supplies, weather protection, and backup copies of critical documents. Layer 3 also holds redundant gear: a second lighter, backup water purification tabs, extra batteries. If weight is an issue, this is the layer you trim first.
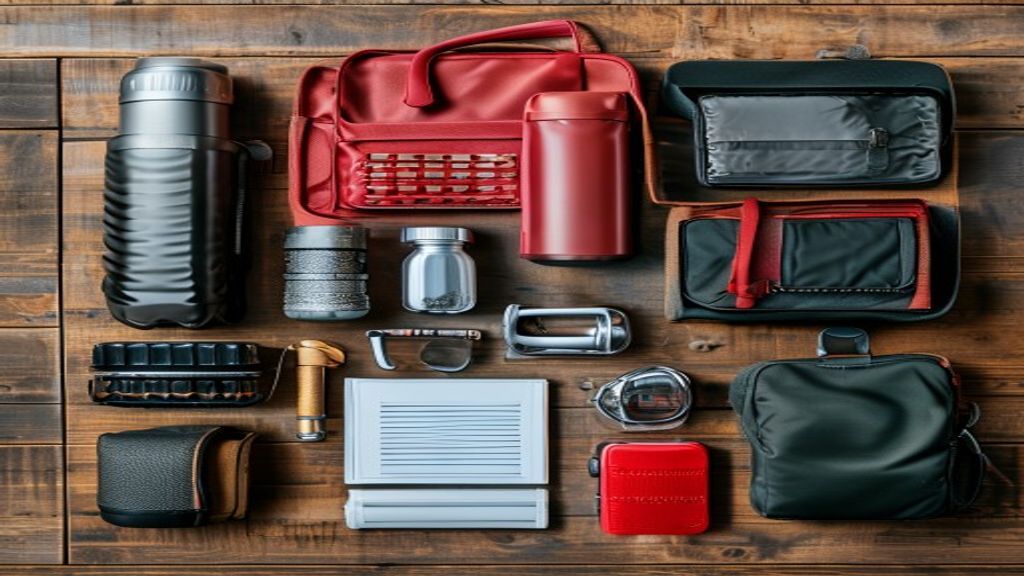
Complete Bug Out Bag Checklist
Below is the full, apartment-specific bug out bag checklist. Every item is chosen for compact size, multi-use capability, and urban relevance. No hunting knives, no paracord bracelets, no hatchets. Just what actually works when you need to move fast through a city.
Water & Hydration
Water is weight — roughly 2.2 pounds per liter. That’s why smart packing means carrying some water and the ability to purify more.
- 1–2 liters of water — Carry at least 1 liter ready to drink. Two liters is ideal if your pack weight allows it.
- Collapsible water bottle or bladder — Takes up almost no space when empty. A 1L Platypus SoftBottle or similar rolls flat when not in use.
- Water filter — The Sawyer Mini or LifeStraw are both under 3 oz and filter down to 0.1 microns. In an urban setting, you may end up pulling water from park fountains, rain barrels, or building rooftop tanks.
- Water purification tablets — Backup to your filter. Aquatabs or Potable Aqua. Weighs almost nothing, lasts years in storage.
Food (High Calorie / Low Space)
You’re fueling 72 hours of high-stress activity. Aim for 1,500–2,000 calories per day in the smallest, lightest form possible. Everything should be no-cook.
- Energy bars — Clif Bars, RXBAR, or Millennium Energy Bars (5-year shelf life). Pack 6–9 bars total.
- Freeze-dried meals (1–2 pouches) — Mountain House or Peak Refuel. Add hot water if you can, eat cold if you have to. Lightweight and calorie-dense.
- Nut butter packets — Justin’s or similar single-serve packs. High fat, high calorie, no prep required.
- Electrolyte packets — Liquid IV, LMNT, or Drip Drop. Prevents cramping during high-exertion evacuations.
- Hard candy or glucose tabs — Fast energy when you need a quick boost.
First Aid (Mandatory)
A proper trauma-capable first aid kit is non-negotiable. Don’t rely on a pre-made drugstore kit with 40 tiny bandages and nothing useful. Build or buy something that handles real injuries. For a full breakdown, see our urban first aid kit guide.
- Trauma basics — Israeli bandage or compressed gauze, tourniquet (CAT or SOFTT-W), chest seal if you’ve trained with one.
- Wound care — Adhesive bandages (various sizes), butterfly closures, medical tape, antiseptic wipes.
- Medications — Ibuprofen, acetaminophen, antihistamines (Benadryl), anti-diarrheal (Imodium), any personal prescriptions (3-day supply minimum).
- Extras — Nitrile gloves (2 pairs), tweezers, small scissors, moleskin for blisters.
Lighting & Power
Urban blackouts happen. When the grid goes down, your phone is your map, your communication device, and your flashlight — until the battery dies.
- Headlamp — Hands-free lighting is critical, especially on dark stairwells. Petzl Tikkina or Black Diamond Spot. Use red light mode to preserve night vision and stay discreet.
- Spare batteries — Match your headlamp’s battery type. AAA or rechargeable, depending on your model.
- Power bank — 10,000–20,000 mAh. Anker or Nitecore brands are reliable and compact. This keeps your phone alive for navigation and communication.
- Charging cables — One cable that matches your phone. Consider a multi-tip cable to cover USB-C and Lightning.
Communication
In an emergency, cell towers get overloaded within minutes. You need backup ways to receive information and signal for help.
- Emergency radio — NOAA weather radio with AM/FM. Hand-crank or solar models eliminate battery dependency. For detailed recommendations, see our emergency radio guide.
- Whistle — Louder than your voice, works when you can’t shout. A simple pealess whistle (like the Fox 40) carries over 100 dB.
- Offline phone backup — Download offline maps of your city (Google Maps or OsmAnd). Save emergency contacts as a screenshot in case your contacts app fails. Store a PDF of your evacuation routes.
- Permanent marker + duct tape — Leave messages on doors, mark safe routes, signal rescue teams. Low-tech communication that never runs out of battery.
Clothing
One compact change of clothes. That’s it. You’re not packing for a vacation — you’re packing for function.
- Base layer — Moisture-wicking underwear and socks (merino wool preferred). Wet feet and chafing will slow you down faster than almost anything.
- Mid layer — Lightweight, packable fleece or long-sleeve shirt. Something you can stuff into a compression sack.
- Weather protection — A packable rain jacket (Frogg Toggs are cheap and effective). Doubles as a wind layer. Skip heavy coats — layer strategically instead.
- Sturdy footwear note — Keep shoes or boots you can walk miles in near your bag. Flip-flops don’t count.
Documents & Cash
If your apartment is gone, your identity and financial access need to come with you. Digital backups are great — until your phone dies or gets damaged.
- Copies of critical IDs — Driver’s license, passport, insurance cards, Social Security card. Laminate them or store in a waterproof pouch.
- Emergency cash — $200–$500 in mixed bills (twenties and smaller). ATMs go down, card readers need power. Cash works when nothing else does.
- Insurance documents — Renter’s insurance policy number, health insurance card, vehicle registration if applicable.
- Emergency contact card — Written, not just in your phone. Include out-of-state contacts (local lines often jam, long-distance calls may still connect).
- USB drive — Encrypted backup of critical files: scans of documents, medical records, family photos, insurance policies.
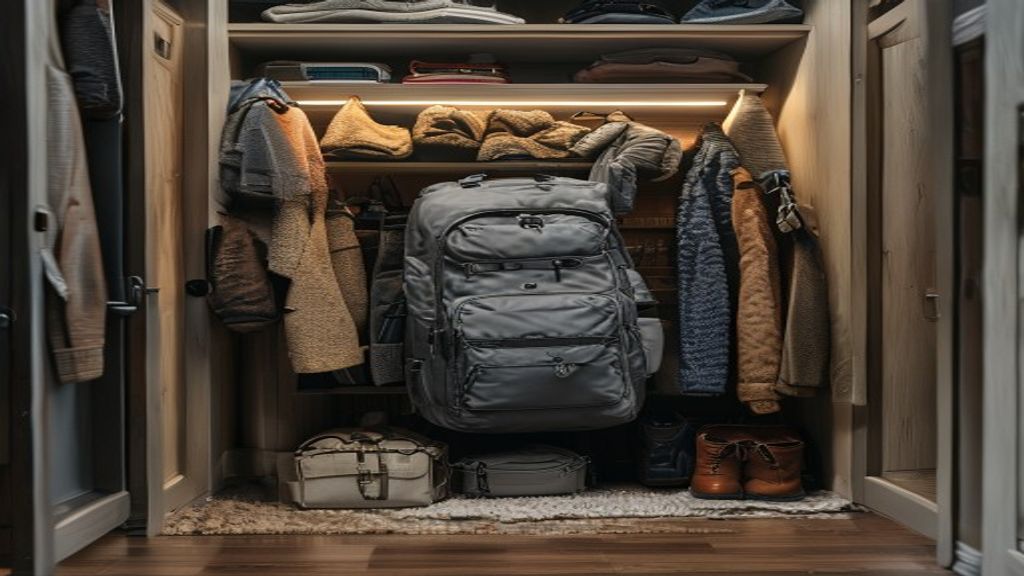
How to Store Your Bug Out Bag in an Apartment
Your bag is useless if you can’t get to it fast. It’s also a problem if it screams “prepper” to every guest who visits. The goal: accessible, concealed, ready.
Closet storage (front hall closet preferred) — This is the gold standard. Your bag sits on the top shelf or floor of the closet nearest your front door. When you leave, it’s the last thing you grab before stepping out. If you use a coat closet, tuck it behind jackets where it’s out of sight but within arm’s reach.
Under-bed storage — Works if your bedroom isn’t far from the exit. Use a bag with a top handle so you can slide it out and go. This is the best option if you want zero visibility — no guest has ever looked under your bed.
Avoiding “visible prepper gear” — Skip MOLLE-covered tactical backpacks in coyote tan. Use a normal-looking backpack — a hiking daypack or even a solid commuter bag in black or grey. The goal is to look like everyone else on the street. This aligns directly with grey man theory — don’t advertise what you’re carrying.
Seasonal rotation spot — Mark your calendar every 6 months to pull the bag out, check expiration dates on food and meds, test batteries, and swap seasonal clothing layers. A bag you packed two years ago and never touched isn’t a survival kit — it’s a time capsule.
Common Mistakes
These are the errors that turn a solid bug out bag into dead weight or a false sense of security.
1. Overpacking (the #1 killer). If you can’t jog with your bag for 15 minutes, it’s too heavy. Period. Most people pack a 40-pound bag and realize on the third flight of stairs that they’ve made a critical mistake. Target 15–25 pounds total — lighter is almost always better.
2. Packing “cool gear” instead of essentials. That $300 tactical knife and the fire steel collection look great on Instagram. But if you’ve got those and no water filter, you’ve failed the assignment. Prioritize boring, life-sustaining gear over anything that looks impressive in a flat lay photo.
3. Forgetting water filtration. Carrying 3 liters of water is heavy and still runs out. Carrying 1 liter plus a Sawyer Mini means you have access to effectively unlimited clean water. The filter weighs 2 ounces. There’s no excuse to skip it.
4. Not testing your bag. Put your bag on. Walk 3 miles. Take the stairs. Open the pockets under stress. Find out which straps dig into your shoulders, which items you can’t locate quickly, and which things you packed but would never actually use. Do this before an emergency, not during one.
5. Ignoring document copies. People pack food, water, and gear but forget that without ID, you can’t check into a shelter, file an insurance claim, or prove who you are. Five minutes at a copy machine now saves massive headaches later.
Quick Loadout Table
| Category | Must-Have | Optional Upgrade |
|---|---|---|
| Water | 1L water + Sawyer Mini filter | Collapsible 2L bladder + purification tabs |
| Food | 6 energy bars + electrolyte packets | 2 freeze-dried meals + nut butter packets |
| First Aid | Bandages, antiseptic, meds, tourniquet | Israeli bandage + chest seal + SAM splint |
| Lighting | Headlamp + spare batteries | Compact lantern + glow sticks |
| Power | 10,000 mAh power bank + cable | 20,000 mAh bank + solar panel charger |
| Communication | NOAA radio + whistle | Hand-crank radio + two-way FRS radio |
| Clothing | Extra socks + rain jacket | Full base layer + packable fleece |
| Documents | Laminated ID copies + $200 cash | Encrypted USB drive + $500 cash |
| Navigation | Offline phone maps | Paper city map + compass |
| Tools | Multi-tool + duct tape wrap | Pry bar (compact) + zip ties |
| Hygiene | Wet wipes + travel toothbrush | Dry shampoo + microfiber towel |
💡 Pro Tips
Tip 1: Keep your bag under 20% of your body weight. If you weigh 160 lbs, your bag should max out at 32 lbs — and honestly, lighter is better. You’re navigating stairs, sidewalks, and potentially running. Every pound matters when adrenaline wears off and fatigue sets in.
Tip 2: Rotate food and medications every 6 months. Set a recurring calendar reminder. Eat the food you’re rotating out (it’s not wasted — it’s a free dinner). Replace batteries at the same time. Check that your cash is still there. This takes 20 minutes twice a year.
Tip 3: Test-carry your bag on stairs. Put your full bag on and walk down your building’s stairwell from your floor to the ground. Then walk a mile. If anything hurts, shifts, rattles, or slows you down, fix it now. The worst time to discover your pack isn’t comfortable is during an actual evacuation.
Conclusion: Build It Today, Refine It Tomorrow
A bug out bag checklist isn’t a one-time project — it’s a living system. You don’t need to buy everything on this list today. Start with Layer 1 (water, food, first aid), add Layer 2 when your budget allows, and build out Layer 3 over time.
The most important thing about your bug out bag isn’t what’s in it. It’s that it exists, it’s packed, and you can grab it in 60 seconds. Preparedness, especially in an apartment, equals mobility. You’re not hunkering down in a bunker — you’re moving fast, staying light, and blending into the urban flow.
Your apartment might be small, but your ability to respond doesn’t have to be. A well-built 72-hour kit in a normal-looking backpack, stored by your front door, puts you ahead of 95% of people who will be scrambling to figure out what to grab when the alarm sounds.
Build your bag today. Refine it tomorrow. Test it this weekend. The emergency won’t wait for your gear list to be perfect — and it doesn’t have to be. It just has to be ready.