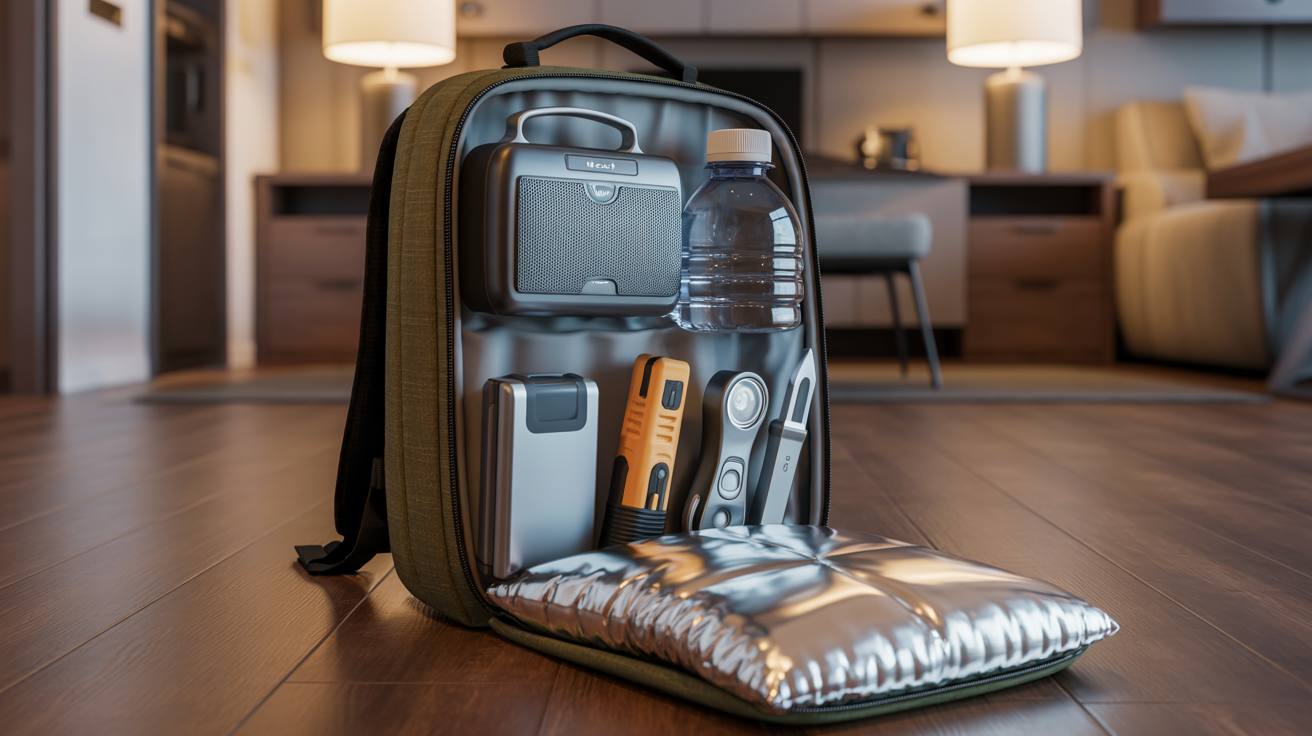
⚡ Quick Summary
An emergency radio is your lifeline when cell towers fail, Wi-Fi goes dark, and your smartphone becomes a dead brick. It’s a dedicated device that pulls broadcasts from NOAA weather alerts, AM/FM stations, and emergency services — no data plan, no Wi-Fi, no problem.
Why you need one: During blackouts, natural disasters, and infrastructure failures, cellular networks get crushed within minutes. Everyone tries to call, text, and stream at once. Cell towers lose power. Your phone dies. An emergency radio keeps working — receiving real-time alerts, evacuation orders, and weather updates when every other communication method has failed.
Your 3 Must-Have Features:
- NOAA Weather Radio — Automated alerts for severe weather, natural disasters, and civil emergencies broadcast 24/7 from government transmitters.
- Multiple power options — Battery, hand crank, and solar. If you’re relying on one power source, you’ve got a single point of failure.
- Compact & apartment-friendly — No gear that takes up a cubic foot of closet space. The best emergency radio for apartments fits in a drawer and stays charged for months.

Why Phones Fail During Emergencies
Your smartphone is incredible — until it’s not. The moment a major emergency hits, your phone becomes a liability disguised as a lifeline. Understanding why this happens is the first step toward building a real urban emergency communication strategy.
Network congestion is instantaneous. When a hurricane makes landfall, a wildfire spreads, or a major earthquake hits, millions of people do the same thing at the same time: they pick up their phones. Cell towers are designed for normal usage patterns, not for every subscriber trying to make a call within a 10-minute window. The network chokes. Calls don’t connect. Text messages queue for hours. Even emergency services struggle to get through.
Cell towers lose power fast. Most cellular infrastructure has backup batteries that last 4–8 hours, maybe 24 if they’re well-maintained. When the grid goes down and stays down, those towers go dark. Your phone still has signal bars, but there’s nothing on the other end listening. You’re shouting into a void.
Your battery dies faster than you think. A fully charged smartphone under normal use lasts a day. Under emergency use — constant refreshing, GPS tracking, flashlight mode, trying to get signal — you’re lucky to get 6 hours. Once it’s dead, you’re cut off. No weather updates. No news. No idea what’s happening two blocks away or two states over. For backup power solutions, check out our guide to portable power stations designed for apartments.
Internet-dependent apps are useless without data. All your streaming news apps, social media feeds, and messaging platforms require an active internet connection. Wi-Fi routers die when the power goes out. Cellular data vanishes when towers fail. Suddenly, your $1,200 smartphone is a paperweight with a cracked screen and 4% battery.
Emergency radio broadcasts don’t depend on any of that. They’re one-way transmissions from high-powered government and commercial transmitters designed to stay operational during disasters. NOAA weather radio stations have backup generators, redundant power systems, and prioritized infrastructure maintenance. AM/FM stations are often the last thing to go dark. A battery-powered radio emergency device will pull in those signals long after every cell tower in your city has gone silent.
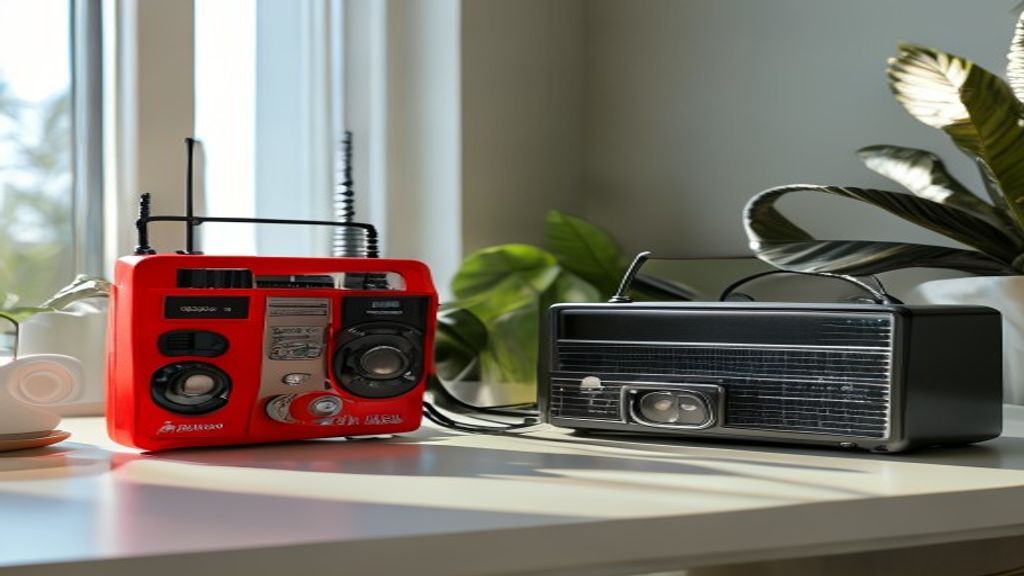
Types of Emergency Radios
Not all emergency radios are built the same. The right choice for apartment living depends on your power access, storage constraints, and how much you’re willing to spend. Here’s what actually matters.
NOAA Weather Radio (Apartment Essential)
NOAA weather radio is the gold standard for emergency alerts in the United States. It’s a network of over 1,000 transmitters covering all 50 states, coastal waters, Puerto Rico, the U.S. Virgin Islands, and U.S. Pacific Territories. These stations broadcast continuous weather information 24/7 and automatically interrupt programming to send emergency alerts for tornadoes, floods, earthquakes, chemical spills, AMBER alerts, and civil emergencies.
A NOAA weather radio apartment setup doesn’t require an antenna farm on your balcony or a ham radio license. It’s a simple receiver that picks up VHF frequencies in the 162 MHz range. Most models include Specific Area Message Encoding (SAME), which filters alerts so you only hear warnings relevant to your county — not every flood watch in a 200-mile radius.
If you only buy one emergency communication device, make it a NOAA-capable radio. Everything else is secondary.
Hand Crank Radio vs Battery Radio
This is the debate that derails every emergency radio discussion. The truth: both have a place, and the best models combine them.
Hand crank radios eliminate battery dependency. When the power’s been out for 72 hours and every AA battery in your building is dead, you can still crank for 60 seconds and get 10–30 minutes of listening time. The trade-off is bulk and weight. Hand crank mechanisms add size, and cheap ones break after a few dozen uses. Quality hand crank models (like the Eton FRX5-BT) are built to last but cost more.
Battery-powered emergency radios are simpler, lighter, and often cheaper. A good set of lithium AA batteries can sit in a drawer for 10+ years and still work when you need them. The downside is obvious: if you don’t have spare batteries, you’re done. For apartment preppers, the hybrid approach works best — a radio with battery power and hand crank backup. You use batteries for everyday convenience and crank power when you’ve run out of options.
Solar panels are common on multi-power radios, but don’t rely on them as your primary source. They’re slow, require direct sunlight, and are nearly useless indoors or during overcast emergency conditions. Treat solar as a tertiary option at best.
AM/FM + NOAA (The Practical Standard)
Most quality emergency radios combine AM, FM, and NOAA weather bands in one unit. This isn’t just about entertainment — AM and FM stations often carry local news, emergency broadcasts, and community coordination information during disasters. AM radio, in particular, has incredible range and can pull in stations hundreds of miles away at night, giving you a broader picture of what’s happening regionally.
Skip radios that only do FM or only do weather. You want all three bands in one compact unit.
Apartment-Specific Challenges
Living in an apartment changes the equation. The same emergency radio that works great for a suburban household with garage space and easy outdoor access might be completely wrong for a 600-square-foot apartment on the 12th floor.
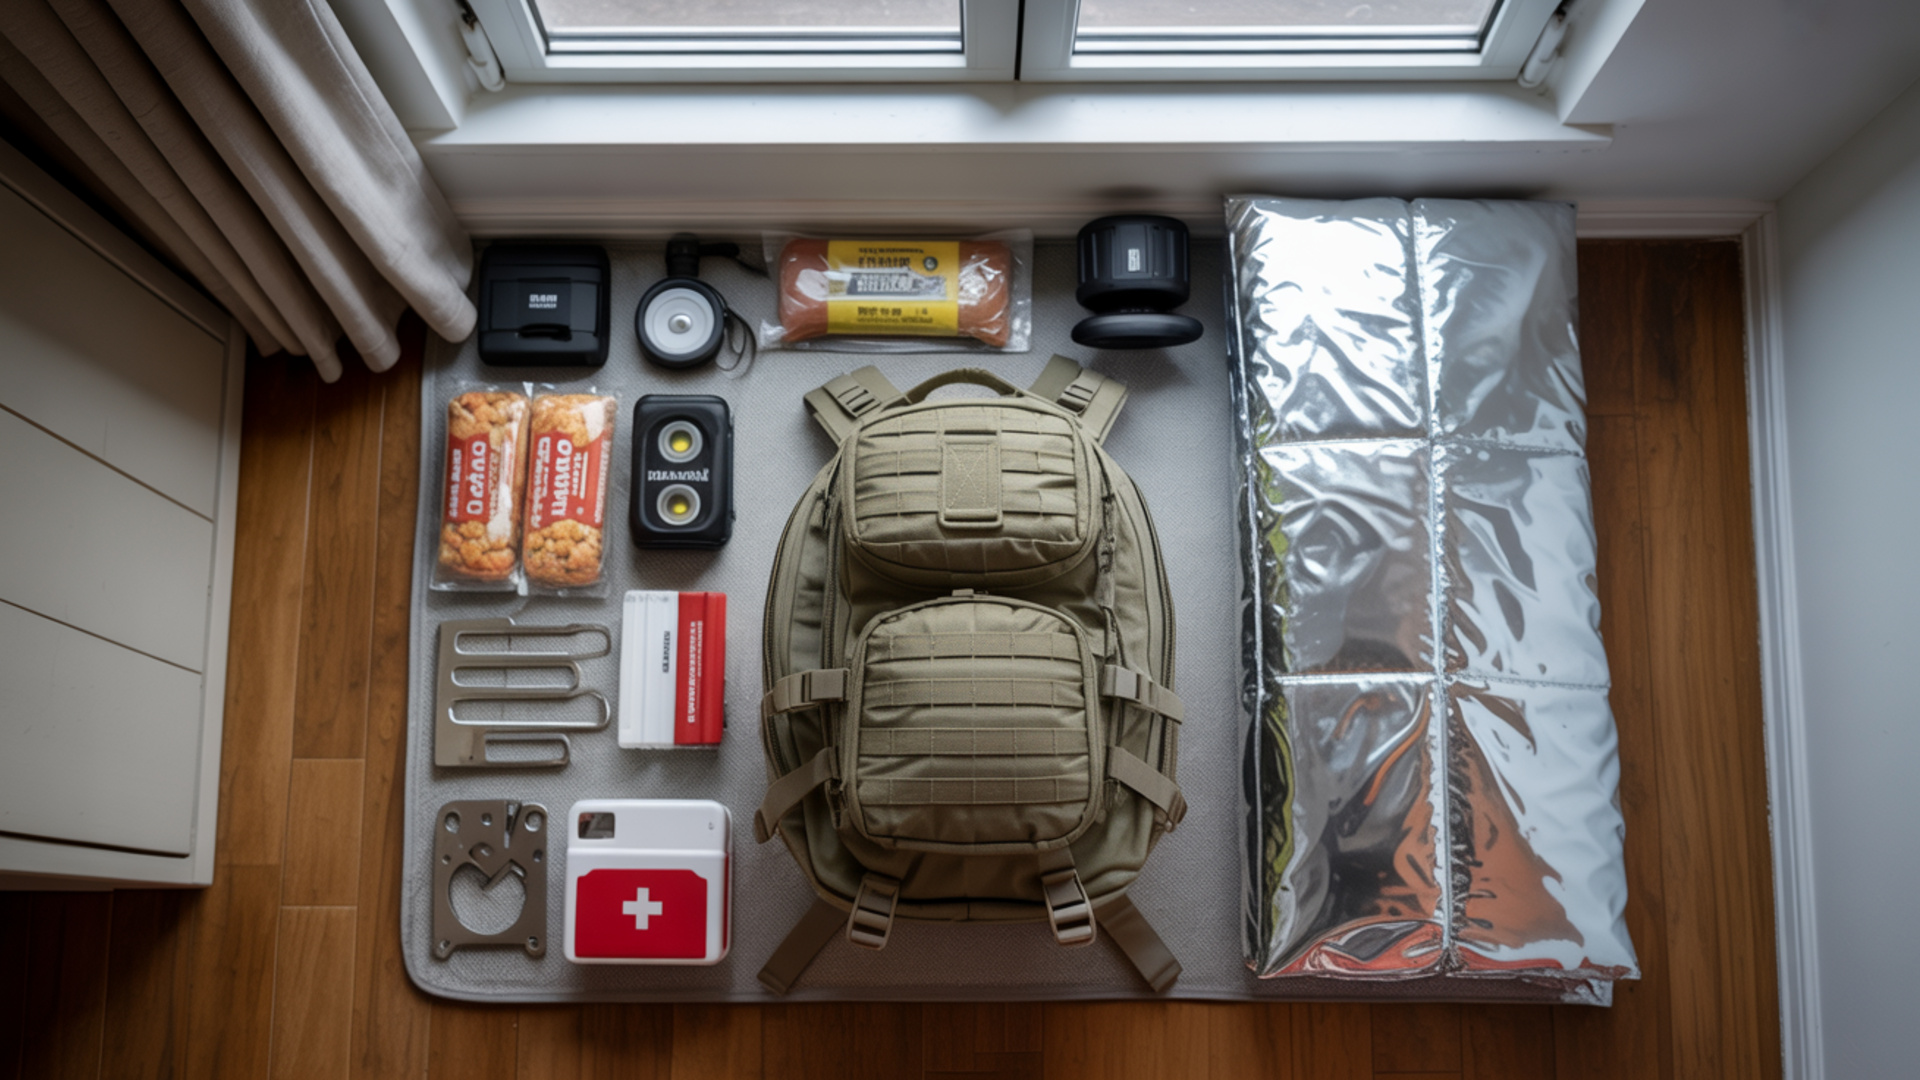
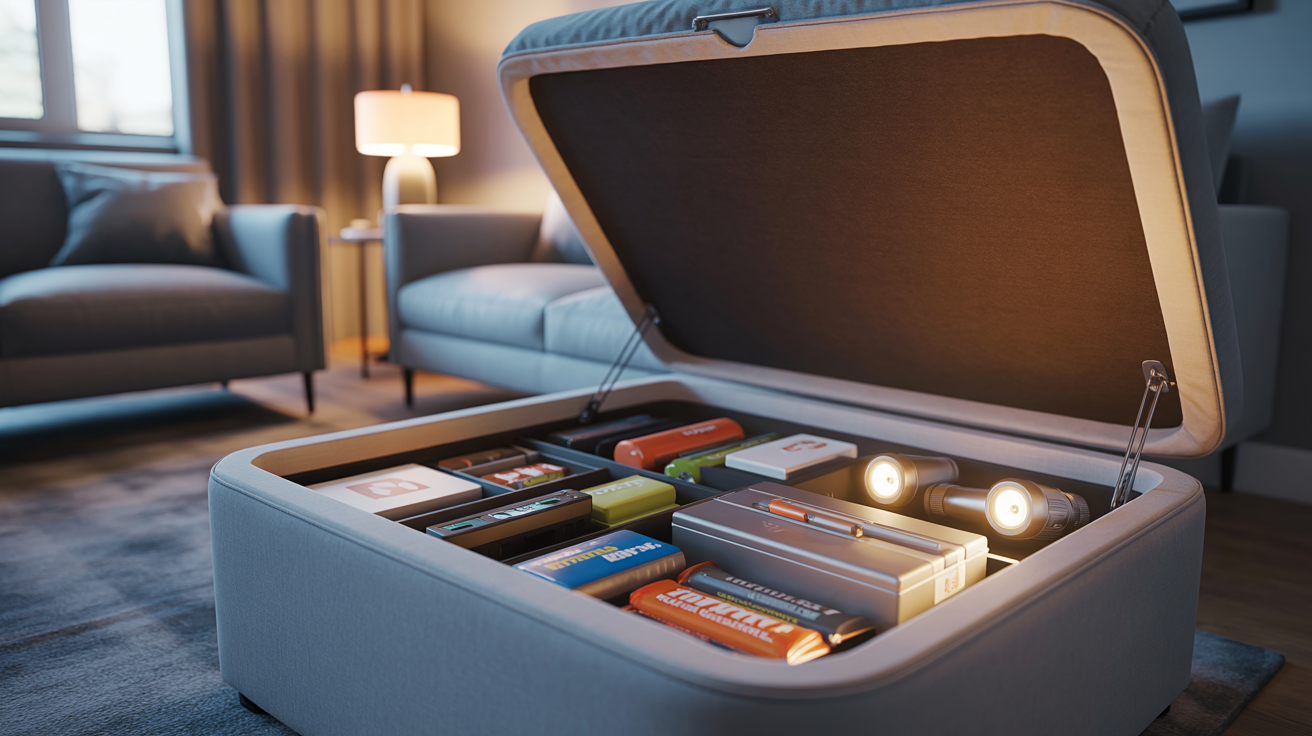
Limited storage space means size matters. You don’t have a dedicated emergency closet or a basement shelf. Your radio needs to fit in a kitchen drawer, a hallway closet, or inside your bug out bag checklist kit without monopolizing space. Anything larger than a shoebox is a tough sell for most apartment dwellers.
Poor reception is common in urban high-rises. Concrete walls, steel rebar, and being surrounded by dozens of other units can seriously degrade radio reception. If you’re deep inside a building, you may need to position your radio near a window or even step onto a balcony to get a clean signal. Some apartment preppers keep their emergency radio near the window specifically for this reason. It’s not ideal, but it’s the reality of apartment emergency communication.
Shared walls mean noise discipline matters. A blaring emergency radio at 2 AM will wake up your neighbors and potentially cause conflicts during already stressful situations. Look for models with headphone jacks and good volume control. You can stay informed without broadcasting every alert to the entire floor.
No exterior power backup for recharging. Suburban households might have a generator in the garage or solar panels on the roof. Apartment dwellers don’t have those options. Your emergency radio needs to be self-sufficient — either with long-lasting battery life, hand crank capability, or integration with small-scale portable power solutions you can store indoors.
Portability is critical. If you need to evacuate, your emergency radio should be light and compact enough to toss into a bag in under 30 seconds. This ties directly into apartment blackout preparedness planning — everything you rely on should be grab-and-go ready.
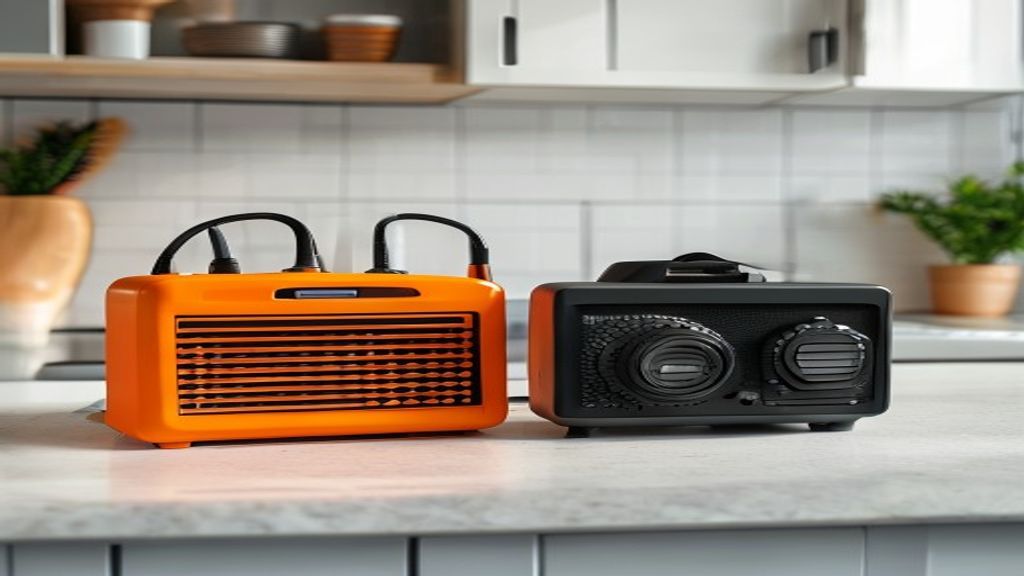
Top 5 Emergency Radios for Apartments
These aren’t affiliate-link filler picks. These are the radios that consistently perform in apartment environments, balance size with capability, and don’t die after 6 months of storage. Every recommendation here is tested for urban use.
1. Midland ER310 (Best Overall for Apartments)
The Midland ER310 is the apartment prepper’s default choice. It’s compact (roughly the size of a large smartphone), includes AM/FM/NOAA weather radio with SAME alerts, and offers three power options: rechargeable 2,600 mAh battery, six AA batteries, or hand crank. The crank mechanism is sturdy and actually works — one minute of cranking gives you about 30 minutes of radio or 10 minutes of bright LED flashlight.
What makes it apartment-ideal: The built-in rechargeable battery holds a charge for months in storage, and the ultrasonic dog whistle is a nice touch for signaling in collapsed-structure scenarios. It’s also relatively quiet when cranking, which matters in shared-wall situations. The USB output can charge your phone in a pinch, though it’s slow.
Specs: 6.5 oz, 6.3″ × 2.9″ × 1.6″, NOAA SAME alerts, SOS beacon, solar panel (supplemental), IP54 weather-resistant.
2. Eton FRX5-BT (Best Build Quality)
If you want a hand crank radio that’ll outlast you, the Eton FRX5-BT is built like a tank. The crank mechanism is over-engineered in the best way — it’s smooth, reliable, and won’t snap after a dozen uses like cheaper models. It covers AM/FM/NOAA, has Bluetooth connectivity for streaming from your phone (when networks are up), and includes a 2,000 mAh USB charging bank for emergency phone charging.
Apartment fit: It’s slightly bulkier than the Midland ER310, but the trade-off is durability and better audio quality. The ambient light with red flash mode is useful for signaling, and the glow-in-the-dark locator helps you find it in complete darkness. This is the radio you buy once and never replace.
Specs: 12 oz, 6.5″ × 6″ × 2.5″, NOAA alerts, Bluetooth, digital tuner, LED flashlight + ambient light.
3. Kaito KA500 (Best for Signal Range)
The Kaito KA500 pulls in weak signals better than almost anything in its price range. If you’re in a high-rise with poor reception or an apartment surrounded by urban RF noise, this radio compensates with a telescoping antenna and a sensitive tuner. It covers AM/FM/NOAA plus shortwave bands, which can be valuable for receiving international or long-range broadcasts during major events.
Five power options: AC adapter, AA batteries, built-in rechargeable battery, hand crank, and solar panel. The solar panel is more functional than most, but still slow. The biggest downside is size — it’s chunkier than the Midland or Eton. But if reception quality is your top concern, this is the apartment radio to get.
Specs: 16 oz, 7.5″ × 6″ × 2.8″, NOAA alerts, shortwave bands, 5 power sources, reading lamp, USB charging port.
4. RunningSnail MD-090P (Best Budget Pick)
For under $30, the RunningSnail MD-090P gives you 90% of what expensive models offer. It’s tiny (fits in a coat pocket), includes AM/FM/NOAA weather radio, has a hand crank, solar panel, and runs on AAA batteries or a built-in rechargeable cell. The flashlight and reading lamp are functional, and the 2,000 mAh battery can trickle-charge your phone.
Apartment reality check: This isn’t built to last 20 years. The crank feels fragile, the speaker is tinny, and the solar panel is mostly decorative. But it works, it’s cheap, and if you’re just starting your apartment blackout preparedness journey and don’t want to drop $80+ on a radio, this is a solid entry point. Buy two — one for home, one for your bug out bag.
Specs: 9 oz, 5″ × 2.4″ × 1.5″, NOAA alerts, flashlight, 2,000 mAh battery, AAA or rechargeable power.
5. Sangean MMR-88 (Most Compact)
The Sangean MMR-88 is the smallest radio on this list that still takes itself seriously. It’s credit-card thin, weighs under 5 ounces, and slips into any bag without adding bulk. Despite its size, it covers AM/FM/NOAA weather radio and offers hand crank, solar, and AAA battery power. The sound quality is shockingly good for something this small.
Apartment advantages: If space is your absolute top constraint, this is the answer. It’s also the most portable option for grey man theory adherents who want emergency communication without carrying something that looks like tactical gear. The trade-off? No phone charging capability and a smaller speaker volume.
Specs: 4.8 oz, 4.7″ × 2.3″ × 1.4″, NOAA alerts, LED flashlight, digital tuning, IPX3 water-resistant.
How to Use a Radio Effectively
Owning an emergency radio doesn’t help if you don’t know how to operate it under stress. Most people unbox their radio, glance at the instructions, and toss it in a drawer. When the power goes out, they fumble in the dark trying to figure out which button does what. Don’t be that person.
Program your SAME alerts now, not during an emergency. NOAA radios with SAME technology let you enter your county code so you only receive alerts for your area. If you don’t program this, you’ll get alerts for every county within 50 miles, and you’ll start ignoring them. Most radios make this process unnecessarily complicated — read the manual once with the lights on and your phone nearby to look up your SAME code. Do it today.
Test your radio monthly. Not just “does it turn on” — actually tune to a station, verify NOAA reception, check that the battery still holds a charge. Set a recurring phone reminder. This is the only way to catch a dead battery or broken antenna before you’re sitting in the dark wondering why nothing works.
Know which frequencies matter. During disasters, local AM/FM stations often coordinate with emergency management to broadcast critical information: shelter locations, water distribution points, evacuation routes, road closures. Identify your city’s major AM and FM news stations ahead of time and write them down on a card that stays with your radio. When you power it on during a blackout, you’ll know exactly where to tune.
Keep your radio near a window for better reception. This is especially critical in apartments. Interior rooms surrounded by concrete and metal are RF dead zones. If you can’t get a signal, move to a window or step onto a balcony. The difference can be dramatic — from static to clear audio in three feet of movement.
Pair it with other communication tools. Your emergency radio isn’t a standalone solution. It works best as part of a layered communication strategy that includes offline maps, written emergency contact lists, and a plan for where to go if you need to evacuate. Radios are for receiving information — not sending it. If you need two-way communication, that’s a different tool entirely (FRS/GMRS handheld radios, which we won’t cover here but are worth researching).
Quick Comparison Table
| Model | Weight | Power Options | Best For | Price Range |
|---|---|---|---|---|
| Midland ER310 | 6.5 oz | Battery, crank, solar, rechargeable | Best overall apartment radio | $50–$70 |
| Eton FRX5-BT | 12 oz | Battery, crank, solar, rechargeable | Best build quality | $80–$100 |
| Kaito KA500 | 16 oz | AC, battery, crank, solar, rechargeable | Best signal reception | $60–$75 |
| RunningSnail MD-090P | 9 oz | Battery, crank, solar, rechargeable | Best budget option | $25–$35 |
| Sangean MMR-88 | 4.8 oz | Battery, crank, solar | Most compact | $45–$60 |
💡 Pro Tips
Tip 1: Store spare batteries separately. Don’t leave batteries inside your radio for long-term storage. They’ll corrode, leak, and destroy the battery compartment. Keep fresh lithium AA or AAA batteries (depending on your model) in a sealed bag next to your radio. Lithium batteries have a 10+ year shelf life and perform better in temperature extremes than alkaline.
Tip 2: Label your radio with tuned station frequencies. Use a label maker or piece of tape to mark your local AM/FM news stations directly on the radio. When you’re operating by flashlight during a blackout, you won’t have to hunt through static or try to remember if the news station is 101.5 or 105.1.
Tip 3: Pair your radio with a portable power station. If you’ve invested in a portable power station for apartment blackout preparedness, you can keep your emergency radio’s internal battery topped off indefinitely. A 300Wh power station can recharge a radio dozens of times while also keeping your phone, headlamp, and other devices running.
Conclusion: Your Lifeline When Everything Else Fails
An emergency radio isn’t sexy. It’s not smart. It won’t integrate with your home automation system or track your sleep. But when the lights go out, the towers go dark, and your phone battery hits zero, that simple battery-powered emergency device becomes the only reliable source of information you have left.
For apartment dwellers, the constraints are real. You don’t have a garage workshop or a disaster supply room. You have a coat closet, a kitchen drawer, and maybe some space under the bed. That means your emergency communication gear has to be compact, multi-powered, and proven to work when it’s been sitting untouched for six months. Every radio on this list meets that standard.
The best emergency radio for apartments is the one you actually own, have tested, and can grab in 30 seconds during an evacuation. It doesn’t matter if it’s the most expensive or the one with the most features. What matters is that it’s there, it works, and you know how to use it before you’re standing in a dark stairwell trying to figure out if the fire department is telling people to shelter in place or get out.
Urban emergency communication isn’t about having the coolest gadget. It’s about eliminating single points of failure. Your phone fails when the battery dies. Wi-Fi fails when the power goes out. Cell towers fail when everyone tries to call at once. A NOAA weather radio apartment setup — battery-powered, hand-crank-capable, stored within arm’s reach — keeps working through all of it.
Buy your emergency radio today. Test it this weekend. Store it somewhere you’ll remember. You won’t know if it works until you need it — and when you need it, you’ll need it immediately. Don’t wait for the next hurricane season, the next wildfire, or the next blackout. Build your communication layer now, while the lights are still on and the stores are still open.
Preparedness isn’t paranoia. It’s pattern recognition. Every major city has blackouts. Every region has natural disasters. Every infrastructure system eventually fails. The question isn’t whether you’ll face an emergency that cuts off communication — it’s whether you’ll have the tools to stay informed when it happens.
The radio sitting in your closet could be the difference between knowing there’s a shelter three blocks west and wandering through a blacked-out city hoping to stumble across help. That’s not dramatic. That’s just the reality of urban emergency response when modern systems collapse.
Get your radio. Program your alerts. Test your equipment. Everything else can wait. This can’t.