Affiliate Disclosure: To support our research, some links on this site may be affiliate links. If you make a purchase, we may receive a commission at no extra cost to you. We only recommend gear we trust. You can build a custom emergency kit for a personalized plan.
How to Purify Water at Home: 7 DIY Methods That Actually Work
When your tap water becomes unsafe — whether from a boil advisory, pipe contamination, or full infrastructure failure — you need to know how to purify water using whatever you have available. These seven methods range from the simplest (boiling) to improvised solutions (charcoal filtration) that you can build from common household materials. Every urban prepper should know at least three of these methods. For more details, check out our guide on Portable Water Filters Emergency: Top 5 Compact Purifiers for Urban Survival. For more details, check out our guide on Urban Water & Food Security: Complete Apartment Preparedness Guide. For more details, check out our guide on Water Purification Tablets: Best Options for Safe Emergency Drinking Water.
Why Every Urban Prepper Needs DIY Water Purification Skills
Stored water runs out. Filters break. Tablets expire. The one thing that can’t be taken from you is knowledge. Understanding multiple water purification methods means you’re never truly without safe water — even if all your gear is lost or inaccessible. In urban emergencies, water contamination is often the first crisis: burst mains mix sewage with supply lines, flooding overwhelms treatment plants, and chemical spills can make municipal water dangerous for days or weeks. For official guidelines, see CDC. You can calculate your water needs for a personalized plan. You can plan your food storage setup for a personalized plan.
The methods below are ordered from most reliable to most improvised. Master the first three, and you’ll handle 95% of urban water emergencies.
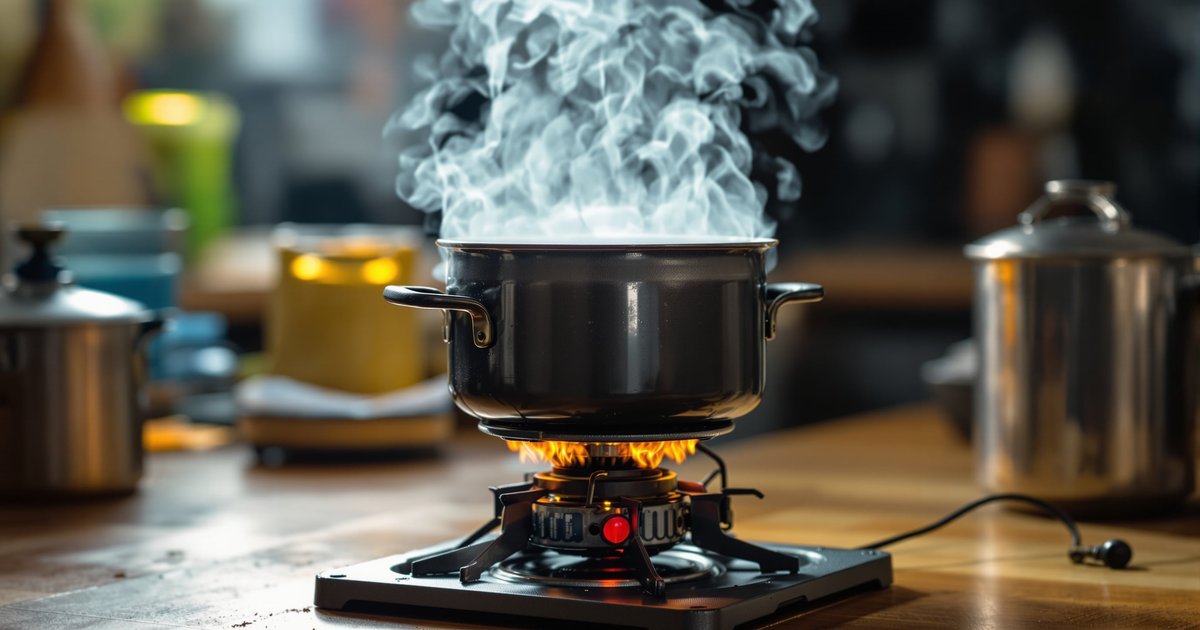
Method 1 — Boiling (Simplest, Most Reliable)
✅ Build your complete emergency kit:
👉 https://modernurbanprepper.com/emergency-kit-builder/
Effectiveness: Kills all bacteria, viruses, and protozoa including Cryptosporidium
Equipment needed: Heat source + pot
Time: 1 minute at rolling boil (3 minutes above 6,500 ft elevation)
Boiling is the gold standard of water purification and the method recommended by the CDC and WHO when other options aren’t available. The process is simple: bring water to a full rolling boil and maintain it for at least 1 minute. At higher elevations, water boils at a lower temperature, so extend to 3 minutes.
Urban prepper tip: Keep a portable camp stove with at least 4 fuel canisters in your emergency kit. Each 8oz canister provides roughly 60 minutes of boiling time — enough to purify approximately 15–20 liters of water. After boiling, let water cool and pour between two clean containers several times to improve taste by re-aerating it. The Red Cross provides additional emergency preparedness resources.
Limitations: Requires fuel (finite resource), doesn’t remove chemical contaminants or sediment, and takes time. Not practical for large volumes without significant fuel reserves.
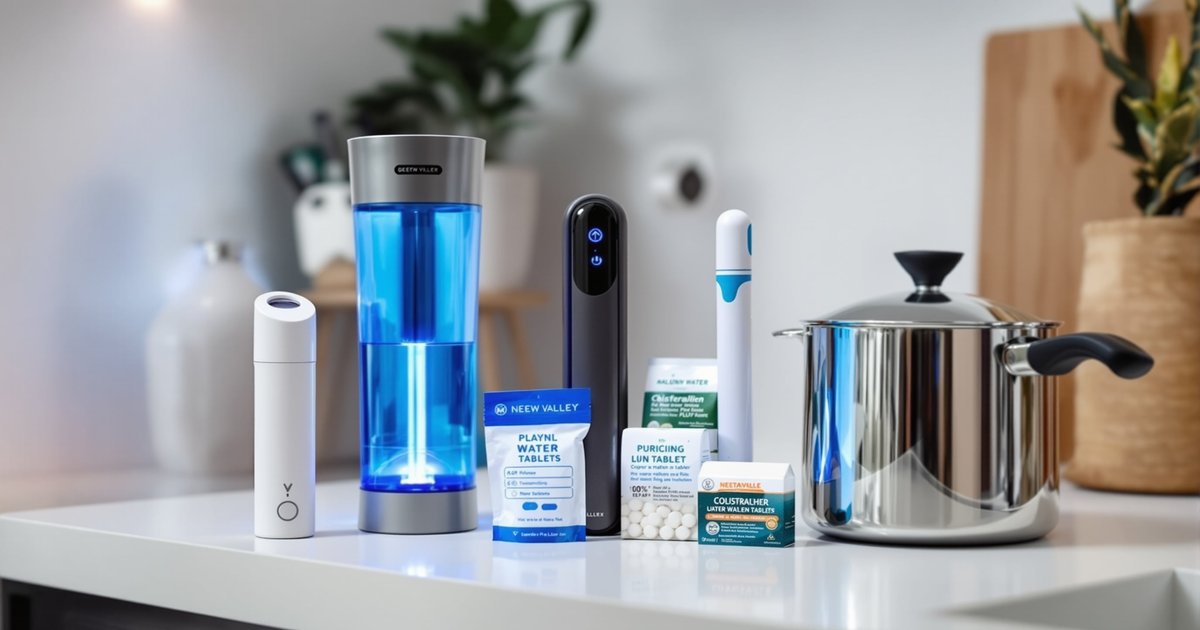
Method 2 — Water Purification Tablets
Effectiveness: Kills bacteria, viruses; chlorine dioxide types also kill Cryptosporidium
Equipment needed: Tablets + container
Time: 15–30 minutes (4 hours for full Crypto protection with ClO₂)
The easiest method for urban preppers: drop a tablet in water and wait. No fuel, no equipment, no skill required. Chlorine dioxide tablets (Katadyn Micropur MP1) provide the broadest pathogen coverage. Iodine tablets are cheaper but miss Cryptosporidium. NaDCC tablets (Aquatabs) are the most affordable for bulk stockpiling.
For detailed product comparisons, shelf life data, and our top picks, see our complete water purification tablets guide.
Method 3 — Portable Filters
Effectiveness: Removes bacteria and protozoa; most don’t remove viruses
Equipment needed: Commercial filter unit
Time: Immediate (squeeze/pump) to 15 minutes (gravity)
Portable water filters like the Sawyer Mini, LifeStraw, and Katadyn BeFree use hollow-fiber membrane technology to physically remove pathogens. The Sawyer Mini filters down to 0.1 microns — small enough to catch bacteria and protozoa but not viruses (which are 0.02–0.3 microns). For urban water sources where viral contamination is possible (sewage overflow), pair a filter with purification tablets for complete protection.
For detailed reviews and comparisons, see our portable water filter reviews.
Method 4 — UV Treatment (SteriPEN)
Effectiveness: Neutralizes bacteria, viruses, and protozoa
Equipment needed: UV purification device + batteries/USB power
Time: 60–90 seconds per liter
UV purification works by scrambling the DNA of pathogens, preventing them from reproducing. The SteriPEN Ultra is the most popular consumer device — it treats 1 liter in 90 seconds and runs on a rechargeable battery (USB charging). UV treatment is fast, leaves no chemical taste, and is effective against the full spectrum of biological contaminants.
Critical limitations: UV doesn’t work on cloudy or turbid water — particles shield pathogens from the UV light. Always pre-filter turbid water through a cloth or coffee filter before UV treatment. UV also provides no residual protection — treated water can be recontaminated. And the device requires power, making it dependent on batteries or solar charging. For a deeper dive, see our guide on emergency preparedness checklist.
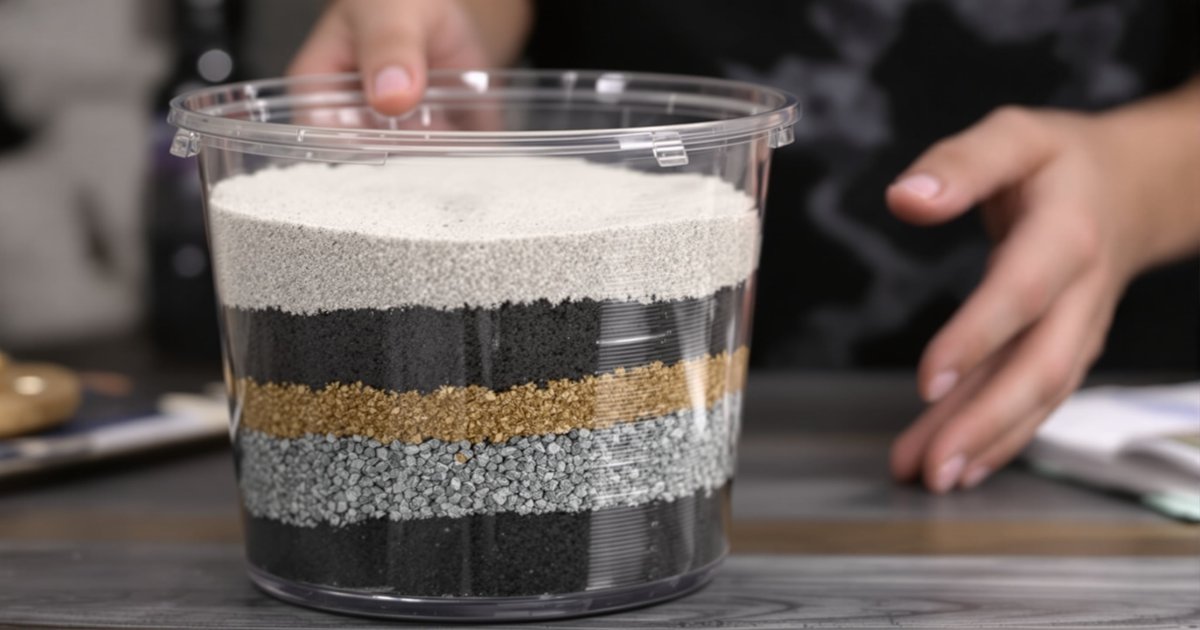
Method 5 — Charcoal Filtration (DIY Build)
Effectiveness: Removes sediment, some chemicals, improves taste; limited pathogen removal
Equipment needed: Activated charcoal, sand, gravel, container
Time: 15–30 minutes per batch
A DIY charcoal filter is one of the most useful improvised purification methods. Activated charcoal adsorbs chemicals, chlorine, and some organic compounds while the sand and gravel layers remove sediment. Here’s how to build one:
✅ Calculate exactly how much water you need:
👉 https://modernurbanprepper.com/water-storage-calculator/
DIY Charcoal Filter — Step by Step
- Get a container: A 2-liter plastic bottle with the bottom cut off works perfectly. A 5-gallon bucket with a hole drilled in the bottom works for larger volumes.
- Layer 1 (bottom): Place a coffee filter or clean cloth at the spout/hole to prevent material from falling through.
- Layer 2: Add 2–3 inches of clean gravel (small pebbles).
- Layer 3: Add 2–3 inches of coarse sand.
- Layer 4: Add 3–4 inches of activated charcoal (crush charcoal briquettes if you don’t have activated charcoal — but avoid briquettes with lighter fluid additives).
- Layer 5: Add 2–3 inches of fine sand.
- Layer 6 (top): Add 1–2 inches of gravel to prevent the sand from disturbing when you pour water in.
- Flush the filter: Pour several liters of clean water through before using to wash out charcoal dust.
Important: A charcoal filter improves water quality and removes many contaminants, but it does NOT reliably kill bacteria or viruses. Always follow charcoal filtration with boiling or chemical treatment (tablets) for safe drinking water. Think of it as a pre-filter that makes other purification methods more effective.
Method 6 — Solar Disinfection (SODIS)
Effectiveness: Kills most bacteria and viruses; limited against Cryptosporidium
Equipment needed: Clear plastic or glass bottles + sunlight
Time: 6 hours in direct sunlight (2 days if cloudy)
SODIS is a WHO-recognized water treatment method used in developing countries where other purification isn’t available. Fill clear PET plastic bottles (standard water bottles) with water, lay them on a reflective surface (like a car hood or aluminum foil) in direct sunlight for at least 6 hours. The combination of UV radiation and heat kills most pathogens.
Best practices: Use bottles no larger than 2 liters (UV penetration decreases with depth). Pre-filter turbid water — SODIS works best on clear water. Place bottles on a corrugated metal roof or reflective surface to increase UV exposure. In cloudy conditions, extend treatment to 2 full days.
Limitations: Slow, weather-dependent, doesn’t work on cloudy/turbid water, limited effectiveness against Cryptosporidium, and requires direct sunlight. This is a last-resort method for urban preppers, but it’s free and requires no equipment beyond bottles you probably already have.
Method 7 — Two-Stage DIY Filter Build
Effectiveness: Removes sediment, many chemicals, and significantly reduces biological contaminants
Equipment needed: Two 5-gallon buckets, charcoal, sand, gravel, cloth
Time: 30–60 minutes per batch
This is the upgraded version of Method 5, designed for family-scale water processing. Stack two 5-gallon buckets: the top bucket contains the filter media (gravel → sand → charcoal → sand → gravel), and the bottom bucket collects filtered water through a spigot. The two-stage design allows you to run water through the filter twice for improved clarity and contaminant removal.
For the best results, combine this filter with boiling or tablet treatment: filter first to remove sediment and chemicals, then boil or add tablets to kill remaining pathogens. This two-step process (physical filtration + chemical/heat disinfection) is how professional water treatment works — you’re just doing it at a smaller scale.
Which Method Is Best for Apartments?
| Method | Space Needed | Cost | Skill Level | Reliability | Best For |
|---|---|---|---|---|---|
| Boiling | Minimal (stove + pot) | $25–50 (camp stove) | Beginner | ⭐⭐⭐⭐⭐ | Primary method |
| Tablets | Pocket-sized | $0.08–0.70/L | Beginner | ⭐⭐⭐⭐⭐ | Bug-out bag, backup |
| Portable Filter | Minimal | $20–90 | Beginner | ⭐⭐⭐⭐ | Daily use, groups |
| UV (SteriPEN) | Minimal | $50–100 | Beginner | ⭐⭐⭐⭐ | Speed, no taste change |
| Charcoal Filter | Moderate | $5–15 DIY | Intermediate | ⭐⭐⭐ | Pre-filtration |
| SODIS | Balcony/roof access | Free | Beginner | ⭐⭐ | Last resort |
| Two-Stage Filter | Moderate | $15–30 DIY | Intermediate | ⭐⭐⭐ | Family-scale processing |
Our apartment recommendation: Keep a portable filter (Sawyer Mini) as your primary method, water purification tablets as your backup, and a camp stove for boiling as your failsafe. These three methods together cover every scenario and fit in a single drawer. Use our water storage calculator to determine how much stored water you need alongside your purification capability.
Frequently Asked Questions
Can you purify water with bleach?
Yes — regular unscented household bleach (5.25–8.25% sodium hypochlorite) can purify water in emergencies. Add 8 drops (1/8 teaspoon) per gallon of clear water, stir, and wait 30 minutes. The water should have a slight chlorine smell after treatment. If it doesn’t, repeat the dose and wait another 15 minutes. This is essentially the same chemistry as NaDCC tablets.
Does boiling water remove chemicals?
No. Boiling kills biological contaminants but does not remove chemicals, heavy metals, or microplastics. For chemical contamination, you need activated carbon filtration (Method 5 above) or a commercial filter with an activated carbon element. In cases of known chemical contamination, do not rely on boiling alone.
How long does purified water stay safe?
Water purified by boiling or UV treatment has no residual protection and should be consumed within 24 hours or stored in a sealed, clean container. Water treated with chlorine-based tablets or bleach maintains residual protection for 24–48 hours. For long-term storage, use sealed containers and re-treat before drinking if stored more than 48 hours.
✅ Make sure your supplies fit your space:
👉 https://modernurbanprepper.com/prepper-storage-calculator/
Back to the full urban water & food security guide for the complete picture of emergency water and food preparedness. For more on water storage planning, see our emergency water storage guide.