Category: Urban Defense

Home security, situational awareness, and personal safety strategies for city dwellers and apartment residents.

  • Urban Situational Awareness: How to Spot Threats Before They Happen

    Urban Situational Awareness: How to Spot Threats Before They Happen

    Urban situational awareness is the single most important survival skill you can develop as a city dweller in 2026. Unlike gear or supplies that can be purchased, urban situational awareness is a mindset and skill set that must be practiced and refined over time. This guide teaches you how to develop urban situational awareness that helps you spot threats before they materialize — keeping you and your family safe in any metropolitan environment.

    Whether you’re commuting on public transit, walking through a parking garage, or simply going about your daily routine, urban situational awareness transforms you from a potential victim into someone who sees danger coming and takes action before it arrives.

    What Is Urban Situational Awareness?

    Urban situational awareness is the practice of being consciously alert to your surroundings, understanding what’s normal in your environment, and recognizing deviations that could signal danger. It’s not paranoia — it’s informed alertness that allows you to make better decisions faster.

    In military and law enforcement circles, urban situational awareness is considered the foundation of personal security. For civilian urban preppers, it’s equally critical because it costs nothing, requires no equipment, and works in every situation.

    Cooper’s Color Code: The Foundation of Urban Situational Awareness

    Colonel Jeff Cooper developed the Color Code system that remains the gold standard for teaching urban situational awareness. Understanding these levels helps you calibrate your alertness appropriately:

    Condition White — Unaware and Unprepared

    In Condition White, you have zero urban situational awareness. You’re absorbed in your phone, wearing noise-canceling headphones, or mentally checked out. This is the state most urban residents live in — and it’s the state that makes you most vulnerable. The goal of developing urban situational awareness is to spend as little time in Condition White as possible when in public.

    Condition Yellow — Relaxed Alert

    Condition Yellow is the ideal baseline for urban situational awareness. You’re relaxed but aware of your surroundings. You notice who’s around you, what they’re doing, and whether anything seems out of place. This state is sustainable for extended periods without causing fatigue or anxiety.

    This is where you should live when in public spaces. Condition Yellow urban situational awareness means you’re scanning your environment naturally, not staring at your phone, and maintaining awareness of exits and potential threats.

    Condition Orange — Specific Alert

    In Condition Orange, your urban situational awareness has identified a specific potential threat. Something has triggered your attention — a person behaving unusually, a vehicle that doesn’t belong, or a situation that feels wrong. You’re now focused on that specific concern and developing a response plan.

    Condition Red — Action Required

    Condition Red means your urban situational awareness has confirmed a threat and you’re executing your response plan. This could mean changing your route, entering a safe location, calling for help, or defending yourself.

    7 Urban Situational Awareness Techniques for City Dwellers

    Technique 1: Establish Your Baseline

    The most powerful urban situational awareness technique is baseline recognition. Every environment has a “normal” — the typical sights, sounds, behaviors, and patterns that characterize it. When something deviates from the baseline, your urban situational awareness flags it for attention.

    To establish baselines:

    • Notice the typical foot traffic patterns in your neighborhood at different times
    • Learn which vehicles are normally parked on your street
    • Observe the usual behavior of people in your regular locations (coffee shop, gym, transit stop)
    • Pay attention to normal sounds — construction, traffic patterns, neighborhood activity

    Technique 2: Practice the OODA Loop

    The OODA Loop (Observe, Orient, Decide, Act) is a decision-making framework that enhances urban situational awareness:

    1. Observe — Continuously scan your environment for information
    2. Orient — Process what you observe against your baseline knowledge
    3. Decide — Determine if action is needed and what that action should be
    4. Act — Execute your decision quickly and decisively

    The faster you cycle through the OODA Loop, the more effective your urban situational awareness becomes. Practice speeds up this cycle until it becomes nearly automatic.

    Technique 3: Read Body Language

    Urban situational awareness relies heavily on reading nonverbal cues. In city environments, body language often reveals intent before action occurs:

    • Target glancing — Someone repeatedly looking at you, your bag, or your phone
    • Predatory positioning — A person positioning themselves between you and exits
    • Concealment behavior — Hands hidden in pockets or behind objects
    • Grooming cues — Touching the face, adjusting clothing (can indicate nervousness before action)
    • Pack behavior — Multiple people coordinating movements or exchanging signals

    Technique 4: Use Reflective Surfaces

    Experienced practitioners of urban situational awareness use reflective surfaces to monitor their surroundings without turning around:

    • Store windows and glass doors
    • Car mirrors and windows
    • Phone screens (held at an angle)
    • Polished metal surfaces

    This technique allows you to check behind you naturally without alerting anyone that you’re practicing urban situational awareness.

    Technique 5: Map Your Exits

    Every time you enter a new space, your urban situational awareness should automatically identify:

    • All exits (including emergency exits, windows, and service doors)
    • Cover positions (solid objects that stop bullets or debris)
    • Concealment positions (objects that hide you from view)
    • The fastest route from your current position to the nearest exit

    This habit takes seconds to develop and could save your life in an active threat situation.

    Technique 6: Monitor Transitional Spaces

    Urban situational awareness is most critical in transitional spaces — areas where you move between environments and are most vulnerable:

    • Parking garages — Limited visibility, echo distortion, multiple hiding spots
    • Elevators and stairwells — Confined spaces with limited escape options
    • Building entrances and exits — Predictable movement patterns
    • ATMs — Distracted, carrying cash, predictable location
    • Public transit platforms — Crowded, noisy, multiple approach angles

    Heighten your urban situational awareness to Condition Orange when entering any transitional space.

    Technique 7: Trust Your Instincts

    Your subconscious processes environmental information faster than your conscious mind. When something feels wrong — even if you can’t articulate why — your urban situational awareness is working. Trust that feeling and take action:

    • Cross the street if someone makes you uncomfortable
    • Leave a location if the atmosphere changes
    • Take a different route if something feels off
    • Don’t enter an elevator with someone who triggers your instincts

    The social pressure to be “polite” gets people hurt. Your urban situational awareness instincts exist for a reason — honor them.

    Urban Situational Awareness in Specific Scenarios

    On Public Transportation

    Public transit requires heightened urban situational awareness due to confined spaces and unpredictable passengers. Sit or stand near exits, keep bags close to your body, avoid noise-canceling headphones, and be aware of who boards and exits at each stop.

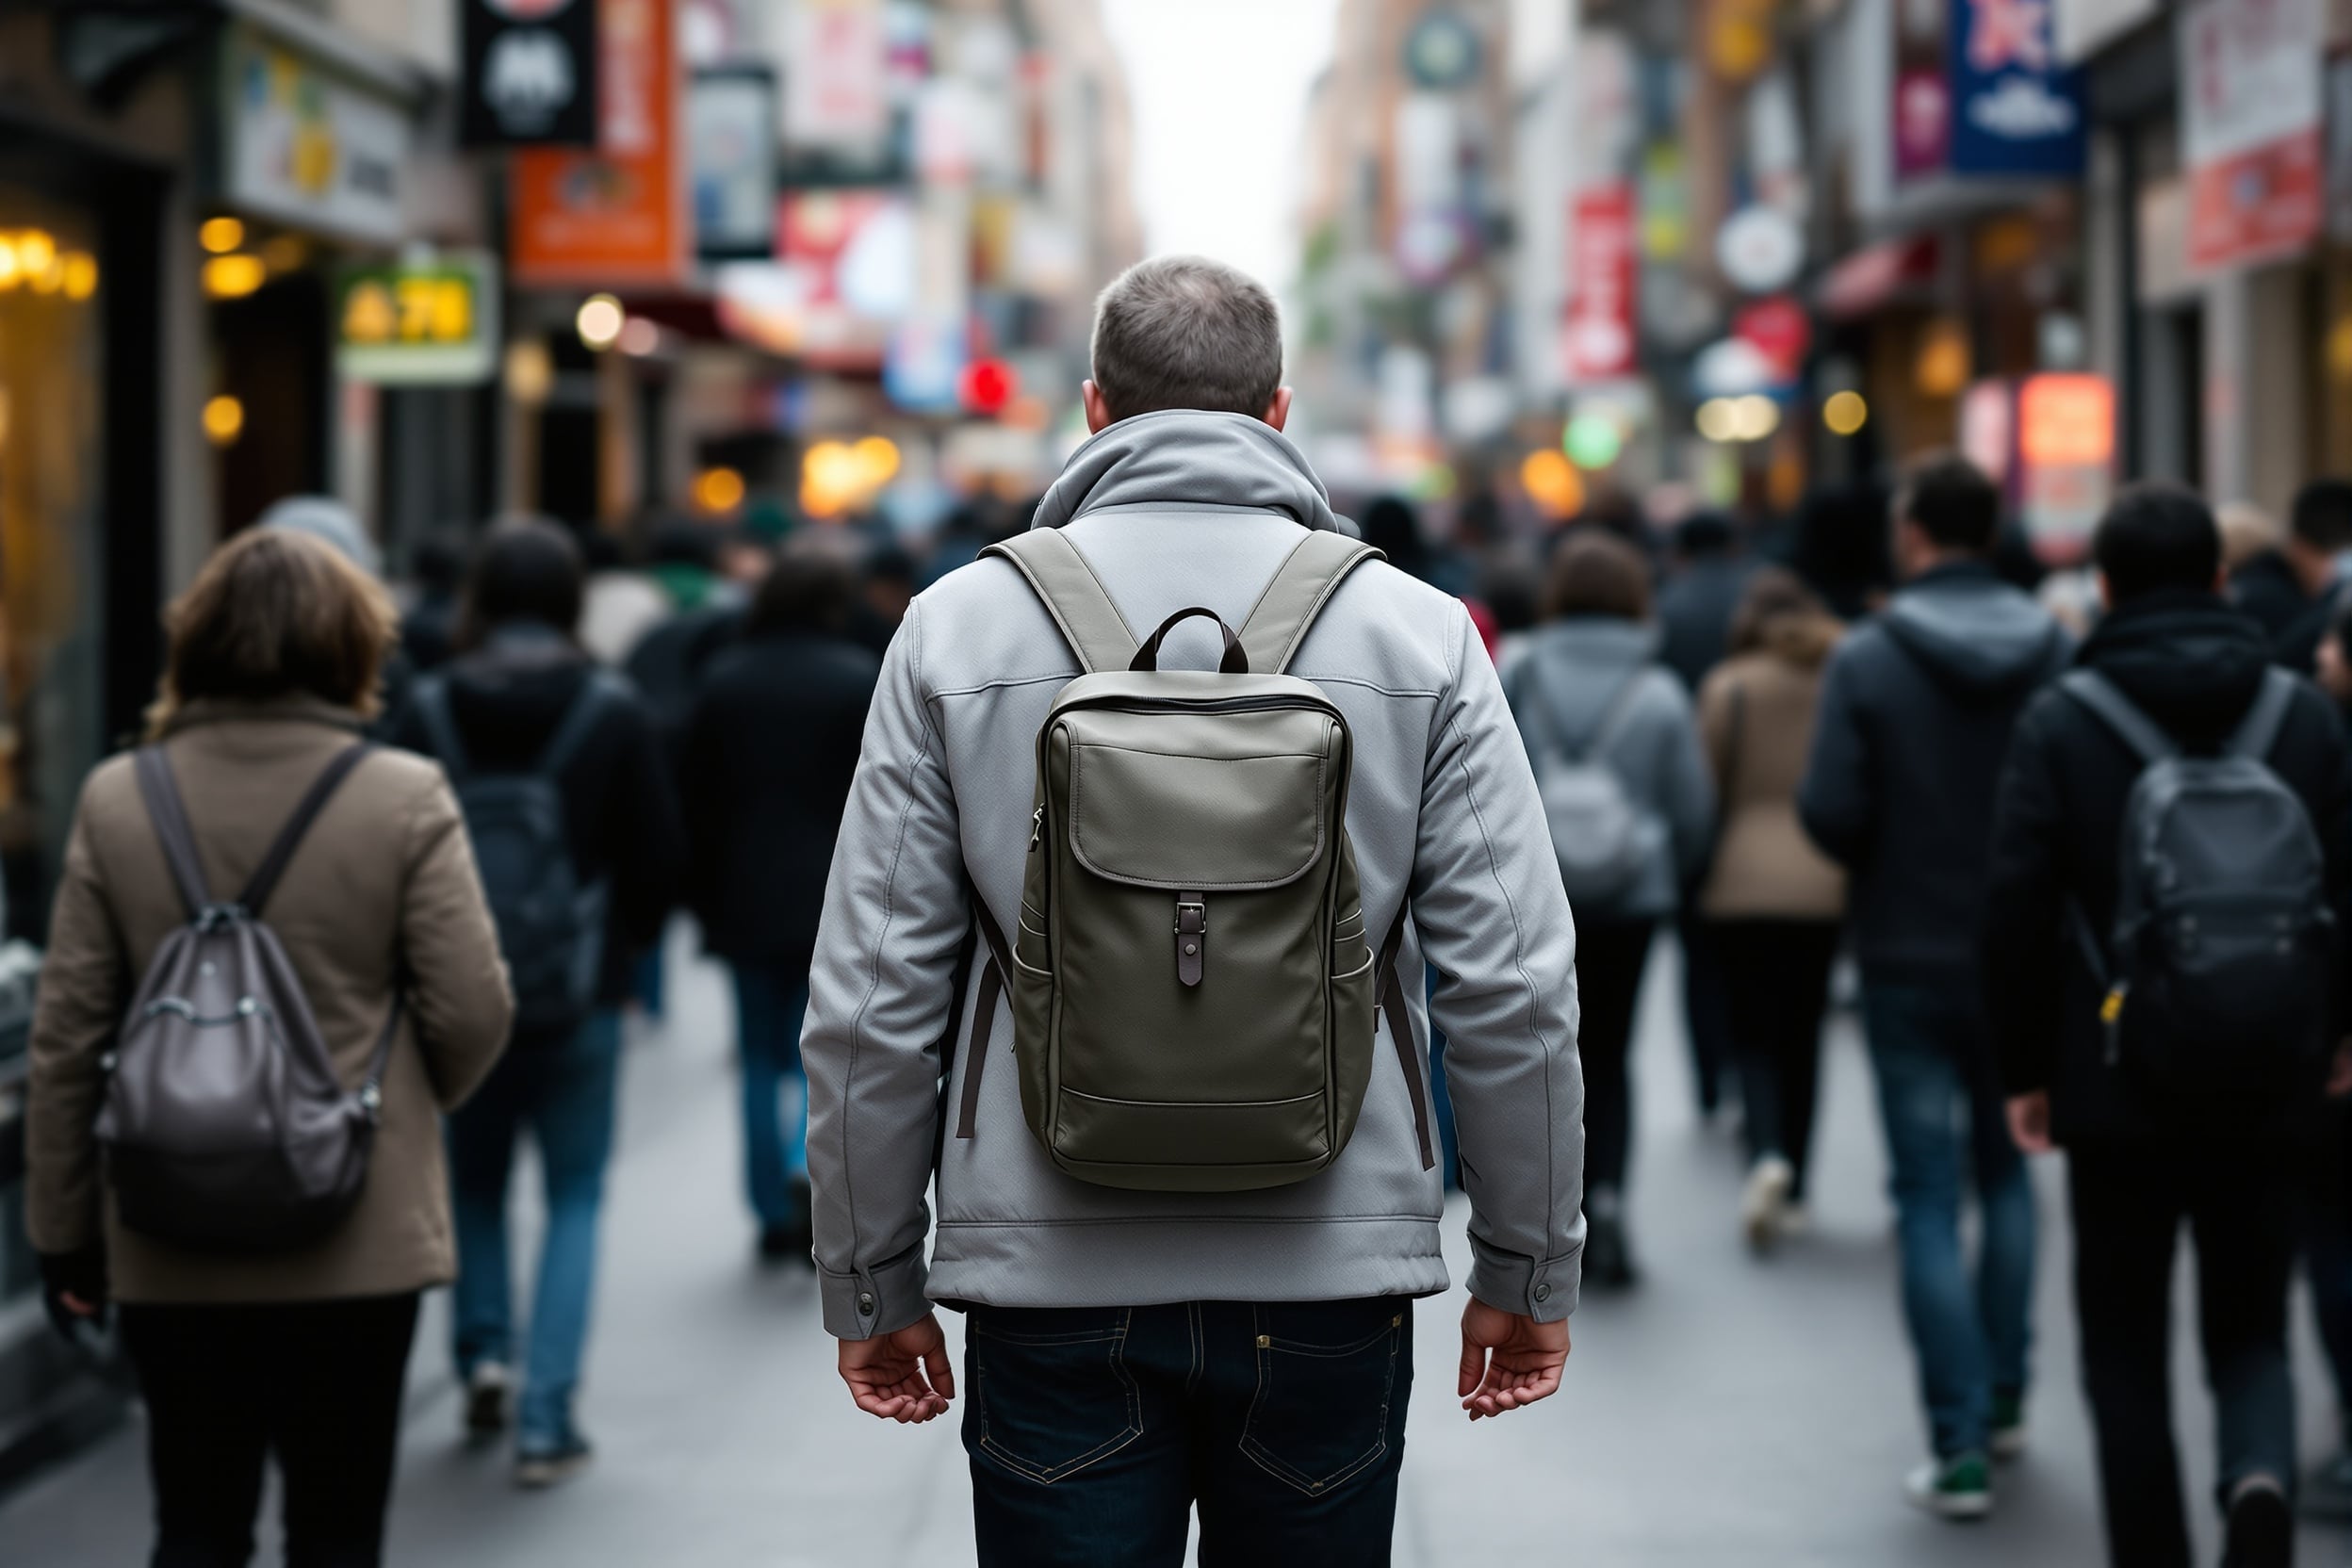
    While Walking City Streets

    Street-level urban situational awareness means walking with purpose, making brief eye contact (showing you’re alert), staying off your phone, and varying your routes to avoid predictable patterns. The grey man strategy complements street awareness by helping you avoid drawing attention.

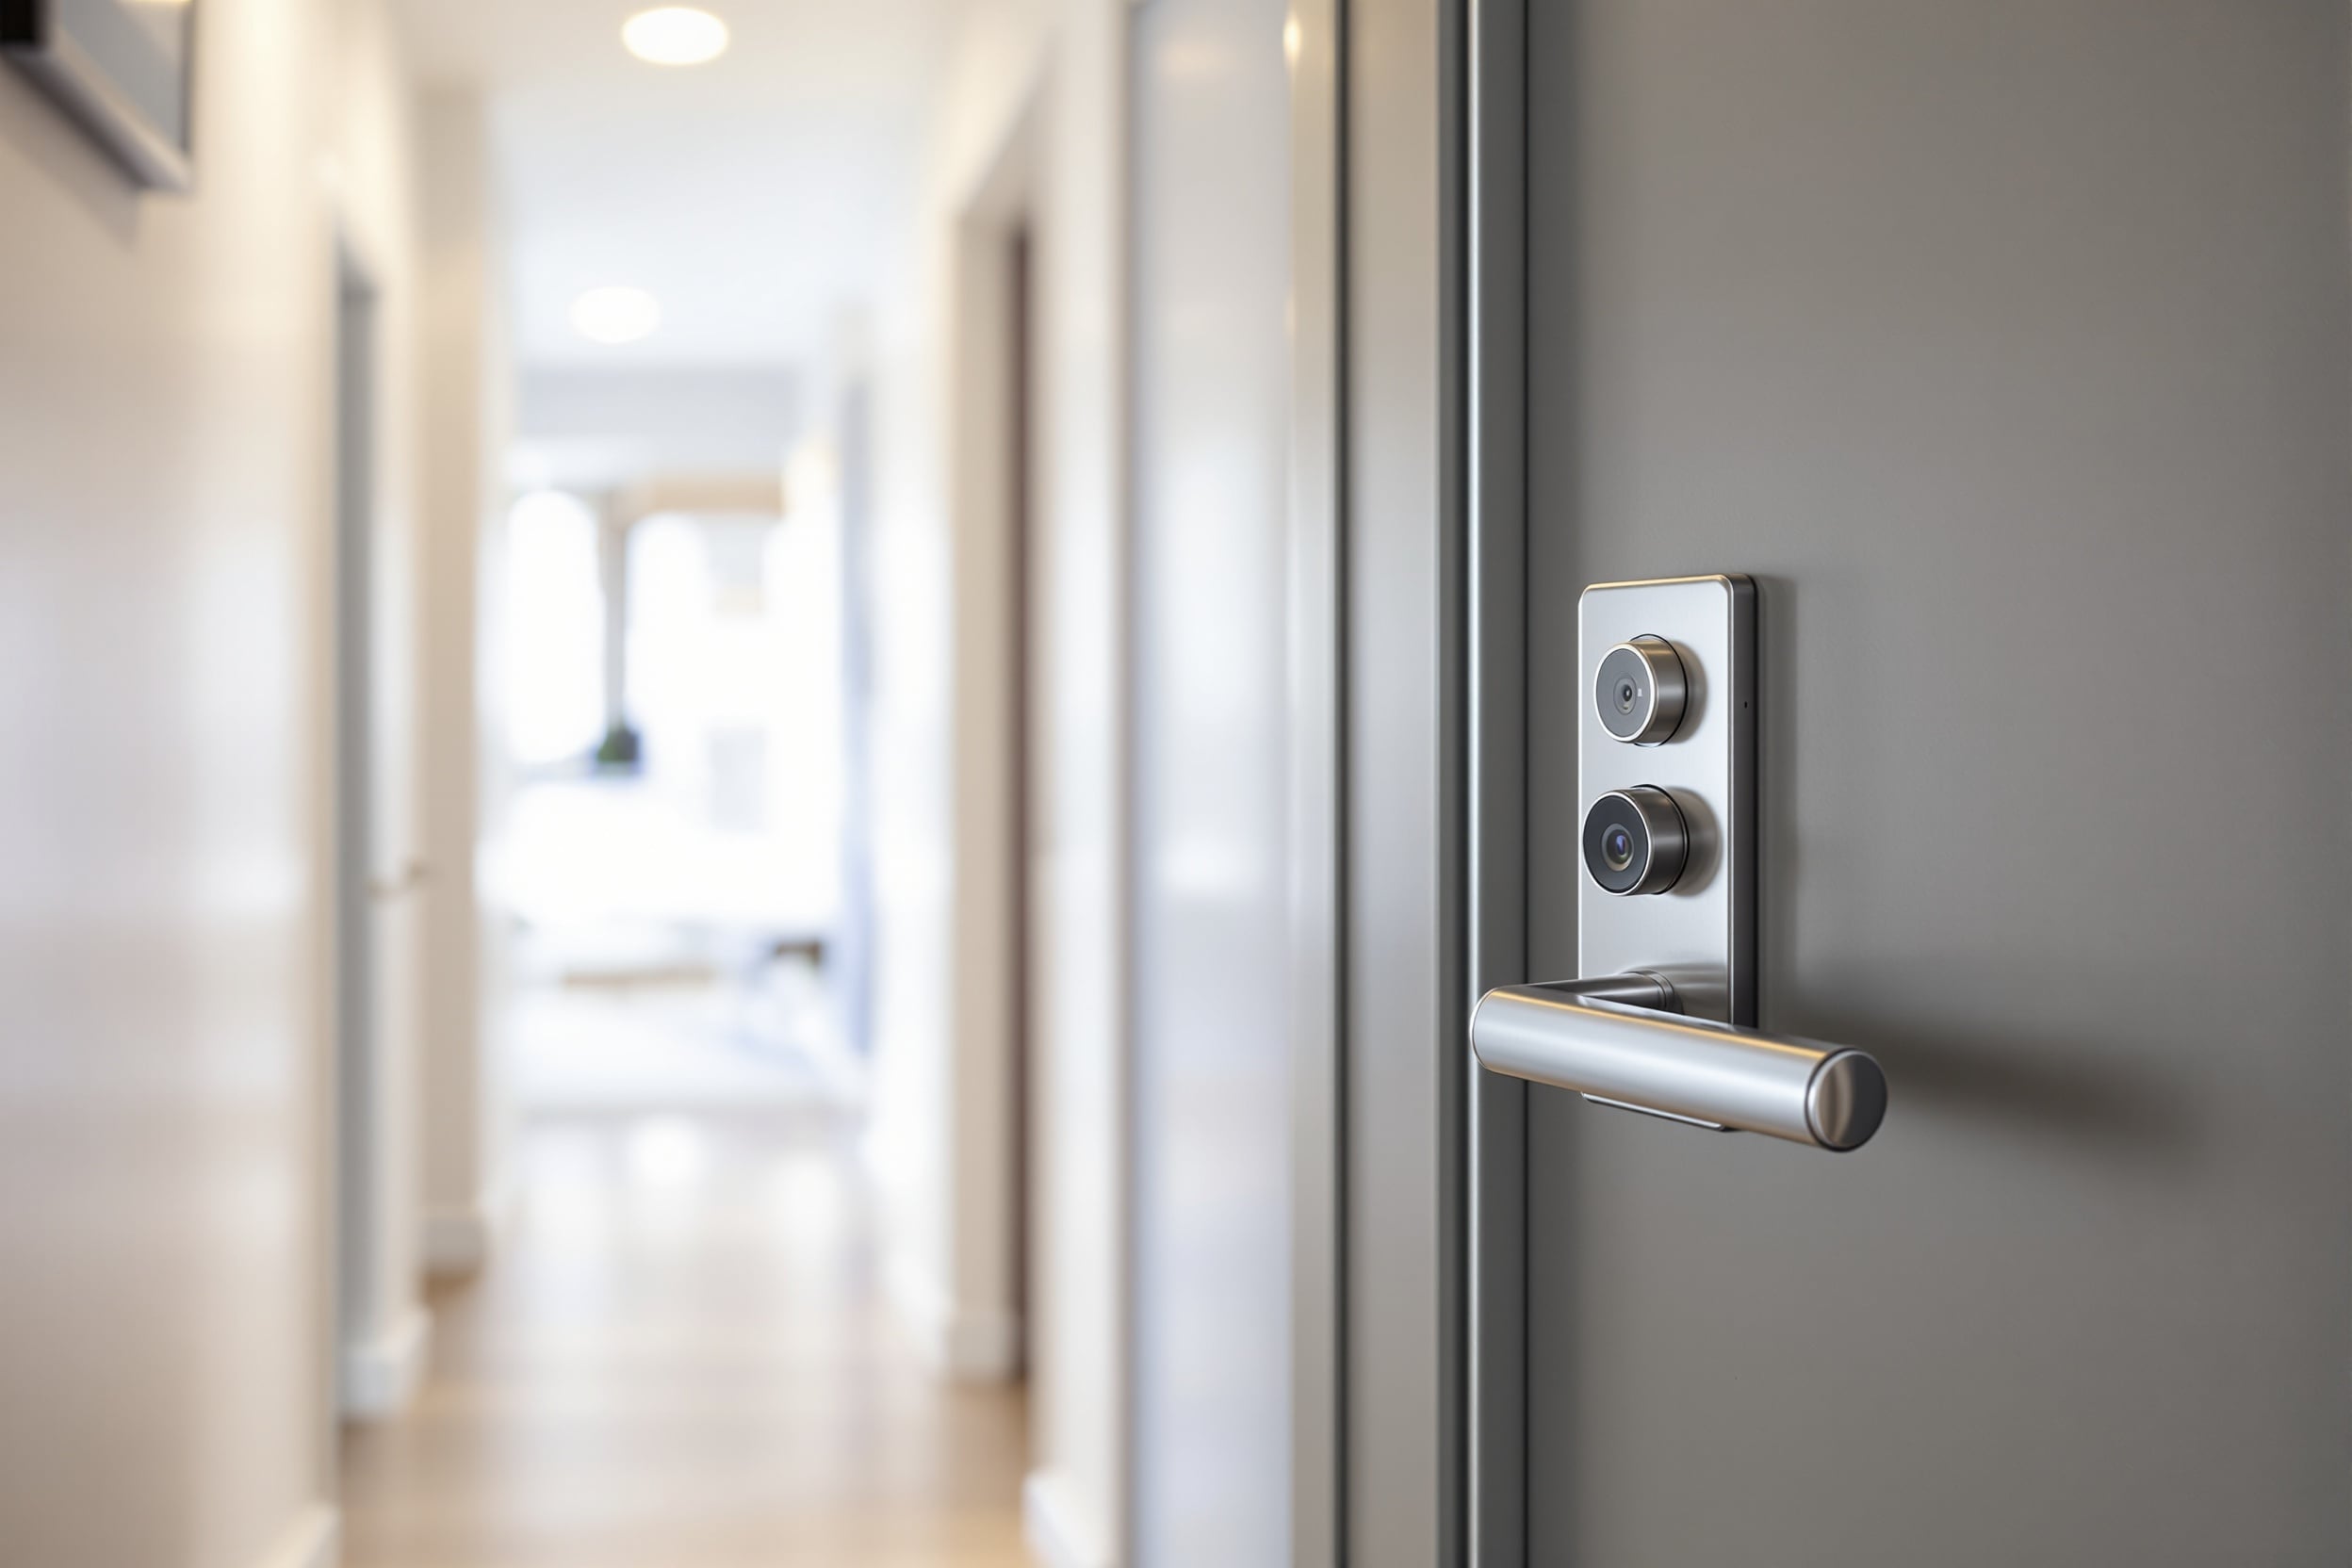
    In Your Apartment Building

    Apply urban situational awareness in your own building: notice unfamiliar faces, check stairwells before entering, be alert in laundry rooms and parking areas, and report suspicious activity. Combine awareness with proper apartment security devices for comprehensive protection.

    During an Urban Emergency

    Urban situational awareness becomes critical during emergencies when normal social rules break down. Monitor crowd behavior for signs of panic, identify safe routes away from danger, and watch for both threats and opportunities (open stores, available shelter, helpful individuals). Your urban survival guide knowledge combined with strong situational awareness gives you a significant advantage.

    Training Your Urban Situational Awareness

    Like any skill, urban situational awareness improves with deliberate practice. Here are exercises to sharpen your awareness:

    Daily Practice Exercises

    1. The Kim’s Game — Study a room for 30 seconds, then look away and list everything you remember. Practice daily to improve observational memory.
    2. People counting — When entering a space, quickly count the number of people and note their general positions. Check your count periodically.
    3. Exit mapping — In every new location, identify all exits within 10 seconds of entry.
    4. Baseline journaling — Spend 5 minutes daily noting what’s “normal” in your regular environments.
    5. Phone-free walks — Take one walk per day without looking at your phone. Focus entirely on your surroundings.

    Common Urban Situational Awareness Mistakes

    1. Smartphone addiction — The #1 killer of urban situational awareness. Your phone is a voluntary blindfold.
    2. Headphone isolation — Noise-canceling headphones eliminate your auditory awareness entirely.
    3. Normalcy bias — Assuming “it won’t happen here” despite evidence to the contrary.
    4. Awareness fatigue — Trying to maintain Condition Orange constantly leads to burnout. Condition Yellow is sustainable.
    5. Tunnel vision — Focusing on one potential threat while missing others.

    Frequently Asked Questions About Urban Situational Awareness

    How is urban situational awareness different from paranoia?

    Urban situational awareness is calm, informed alertness based on observation and knowledge. Paranoia is irrational fear without evidence. Practicing urban situational awareness at Condition Yellow means you’re relaxed but observant — you notice things without being anxious about them. If awareness causes you constant anxiety, you’re operating at too high an alert level.

    How long does it take to develop good urban situational awareness?

    Most people notice significant improvement in their urban situational awareness within 2-4 weeks of deliberate practice. The key habits — exit mapping, baseline recognition, and phone-free observation — become automatic within 60-90 days of consistent practice.

    Can children learn urban situational awareness?

    Yes. Age-appropriate urban situational awareness training helps children recognize unsafe situations and respond appropriately. Focus on teaching them to identify trusted adults, recognize when something feels wrong, and know what to do in emergency situations. Frame it as “being smart” rather than “being scared.”

    Does urban situational awareness work against all threats?

    Urban situational awareness significantly reduces your vulnerability to most common urban threats including street crime, pickpocketing, assault, and scams. However, no awareness level provides complete protection against all threats. The goal is to reduce risk and improve response time, not achieve invulnerability.

    Integrating Urban Situational Awareness Into Your Preparedness Plan

    Urban situational awareness is the foundation that makes all other preparedness strategies more effective. When combined with proper city home defense, a well-stocked emergency kit, and a comprehensive prepper checklist, your urban situational awareness creates a complete security posture that protects you in any scenario.

    Start practicing today. Put your phone in your pocket during your next walk, scan your environment, and notice what you’ve been missing. Urban situational awareness is free, portable, and always available — making it the most valuable tool in your urban survival toolkit.

  • 10 Best Apartment Security Devices for Renters (Non-Permanent)

    10 Best Apartment Security Devices for Renters (Non-Permanent)

    Finding the right apartment security devices is essential for renters who want to protect their homes without violating lease agreements. In 2026, the market for apartment security devices has exploded with renter-friendly options that require zero permanent modifications — no drilling, no wiring, and no landlord permission needed.

    This guide reviews the 10 best apartment security devices for renters, covering everything from smart cameras and door sensors to portable locks and alarm systems. Every product on this list can be installed in minutes and removed without a trace when you move.

    Why Renters Need Specialized Apartment Security Devices

    Renters face unique security challenges that homeowners don’t. You can’t install hardwired alarm systems, replace locks without permission, or make structural modifications. Yet apartment dwellers are statistically more likely to experience break-ins than homeowners — making apartment security devices not just convenient but necessary.

    The good news? Modern apartment security devices are designed specifically for renters. Wireless technology, adhesive mounting, and battery power have eliminated the need for permanent installation. You can build a comprehensive security system using apartment security devices that move with you from lease to lease.

    The 10 Best Apartment Security Devices for Renters (2026)

    1. Ring Alarm Security Kit (8-piece) — Best Overall Apartment Security Device

    The Ring Alarm system is the gold standard among apartment security devices. The 8-piece kit includes a base station, keypad, contact sensor, motion detector, and range extender — everything you need for comprehensive apartment protection.

    Why it’s #1:

    • Completely wireless — all components use adhesive mounting
    • Optional 24/7 professional monitoring for $20/month
    • Integrates with Ring cameras and video doorbell
    • Cellular backup ensures protection even if Wi-Fi goes down
    • Battery-powered sensors last up to 3 years
    • Easy DIY setup in under 30 minutes

    Price: $199.99 (kit) + optional $20/month monitoring

    2. Wyze Cam v4 — Best Budget Security Camera

    Among apartment security devices, the Wyze Cam v4 offers unbeatable value. Full 2K resolution, color night vision, and local storage via microSD card — all for under $36.

    Key features:

    • 2K QHD resolution with color night vision
    • Two-way audio with siren
    • Motion and sound detection with phone alerts
    • Local storage (microSD) — no subscription required for basic features
    • Magnetic base — sticks to any metal surface without mounting

    Price: $35.99

    3. Ring Video Doorbell (Battery) — Best Apartment Doorbell Camera

    A video doorbell is one of the most impactful apartment security devices you can install. The battery-powered Ring Video Doorbell requires no wiring and can be mounted with the included adhesive bracket or over your existing peephole.

    Key features:

    • 1080p HD video with two-way talk
    • Motion-activated alerts sent to your phone
    • Night vision and wide-angle lens
    • Rechargeable battery lasts 6-12 months
    • No wiring required — perfect for apartments

    Price: $99.99

    4. Addalock Portable Door Lock — Best Physical Security Device

    The Addalock is one of the simplest yet most effective apartment security devices available. This portable door lock installs in seconds from inside your apartment, preventing the door from being opened even with a key.

    Key features:

    • Installs in seconds — no tools required
    • Works on virtually any inward-opening door
    • Prevents entry even with a key (protection against unauthorized landlord entry)
    • TSA-friendly — doubles as a travel lock
    • Completely invisible from outside

    Price: $24.99

    For comprehensive door security strategies, see our city home defense guide which covers door reinforcement in detail.

    5. SimpliSafe 5-Piece Security System — Best Monitored Apartment Security Device

    SimpliSafe has built its reputation on apartment-friendly security. Among monitored apartment security devices, it offers the best combination of features, flexibility, and no-contract pricing.

    Key features:

    • No contract required — cancel anytime
    • Professional monitoring from $17.99/month
    • Cellular connection (works without Wi-Fi)
    • 24-hour battery backup
    • All sensors are wireless and adhesive-mounted
    • Environmental monitoring (smoke, CO, water leak, temperature)

    Price: $199.96 (system) + $17.99-$27.99/month monitoring

    6. GE Personal Security Window/Door Alarm (4-pack) — Best Budget Door/Window Alarm

    These standalone apartment security devices are the most affordable way to add alarm protection to every entry point. Each unit is self-contained with its own 120dB siren.

    Key features:

    • 120dB alarm — loud enough to alert neighbors and deter intruders
    • Adhesive mounting — no drilling
    • Battery powered — no wiring needed
    • On/off switch and chime mode
    • Works on doors and windows

    Price: $24.99 (4-pack)

    7. Kasa Smart Plug with Light Timer — Best Deterrence Device

    Smart plugs are underrated apartment security devices. By automating your lights to turn on and off on a schedule, you create the appearance of occupancy even when you’re away.

    Key features:

    • Schedule lights, radios, or TVs to simulate presence
    • Control via app from anywhere
    • Works with Alexa and Google Home
    • Away mode randomizes on/off times for realistic patterns
    • No hub required

    Price: $14.99 (2-pack)

    8. BudgetBuddy Door Security Bar — Best Door Reinforcement Device

    Door security bars are essential apartment security devices that prevent forced entry through your front door. The adjustable bar braces between your door handle and the floor, making it nearly impossible to kick in.

    Key features:

    • Adjustable length fits any standard door
    • Padded base grips any floor surface
    • Withstands up to 350 pounds of force
    • No installation — place and remove in seconds
    • Works on any inward-opening door

    Price: $25-35

    9. Eve Window Guard — Best Smart Window Sensor

    Window sensors are critical apartment security devices, especially for ground-floor units. The Eve Window Guard uses Thread/Matter technology for reliable, low-latency alerts.

    Key features:

    • Detects open/closed/tilted window positions
    • Works with Apple HomeKit, Google Home, and Amazon Alexa
    • Adhesive mounting — no drilling
    • Battery lasts up to 18 months
    • Automation triggers (turn off AC when window opens, etc.)

    Price: $39.99

    10. Tile Mate Tracker (for Keys and Valuables) — Best Anti-Theft Tracking Device

    While not a traditional security device, Tile trackers are valuable apartment security devices for protecting portable valuables. Attach them to laptops, bags, and other high-value items for tracking if stolen.

    Key features:

    • Bluetooth tracking with 250-foot range
    • Community find network for out-of-range items
    • Loud ring to locate items
    • Water-resistant design
    • 1-year replaceable battery

    Price: $24.99

    How to Build a Complete Apartment Security System

    The most effective approach combines multiple apartment security devices into a layered system. Here’s a recommended setup by budget:

    Budget Setup ($75-100)

    • GE door/window alarms (4-pack) — $25
    • Addalock portable door lock — $25
    • Wyze Cam v4 — $36
    • Kasa smart plugs (2-pack) — $15

    Mid-Range Setup ($250-350)

    • Ring Alarm 8-piece kit — $200
    • Ring Video Doorbell — $100
    • Door security bar — $30
    • Smart plugs for light automation — $15

    Premium Setup ($500-700)

    • SimpliSafe system with monitoring — $200 + monthly
    • Ring Video Doorbell — $100
    • Multiple Wyze cameras — $108
    • Eve window sensors (3) — $120
    • Addalock + door security bar — $55
    • Tile trackers for valuables — $50

    Apartment Security Devices: Installation Tips for Renters

    Getting the most from your apartment security devices requires proper placement:

    1. Cameras — Position to cover entry points. Avoid pointing at neighboring units (privacy concerns).
    2. Door sensors — Place on the door frame, not the door itself, for more reliable contact.
    3. Motion detectors — Mount in corners at 6-7 feet height for optimal coverage. Avoid pointing at windows (false alarms from passing traffic).
    4. Video doorbell — Mount at chest height (4-4.5 feet) for the best facial capture angle.
    5. Window sensors — Prioritize ground-floor and fire-escape-accessible windows.

    Legal Considerations for Apartment Security Devices

    Before installing apartment security devices, be aware of these legal considerations:

    • Lease review — Check your lease for restrictions on security equipment, especially exterior-mounted devices
    • Camera placement — Recording common areas may be restricted; never point cameras into other units
    • Noise ordinances — Ensure alarm sirens comply with local noise regulations
    • Landlord notification — Some leases require notifying your landlord about security system installation
    • Removal obligation — Plan to remove all apartment security devices and repair any minor damage when you move

    Frequently Asked Questions About Apartment Security Devices

    What are the best apartment security devices that don’t require drilling?

    The best no-drill apartment security devices include the Ring Alarm system (adhesive sensors), Wyze Cam v4 (magnetic base), Addalock portable door lock (no installation), and GE window/door alarms (adhesive mount). All of these apartment security devices can be installed and removed without leaving any marks.

    Do apartment security devices work without Wi-Fi?

    Some apartment security devices work without Wi-Fi. The SimpliSafe system uses cellular backup, standalone door/window alarms work independently, and physical devices like the Addalock and door security bars require no connectivity at all. However, smart cameras and app-controlled devices do require Wi-Fi for full functionality.

    Can my landlord object to apartment security devices?

    Landlords generally cannot prohibit interior apartment security devices that don’t cause damage. However, exterior-mounted devices (like video doorbells) may require permission. Always check your lease and communicate with your landlord about any visible apartment security devices.

    How much should I spend on apartment security devices?

    A basic but effective apartment security device setup costs $75-100. A comprehensive system with monitoring runs $300-500 plus monthly fees. Start with the highest-impact apartment security devices (door lock, camera, and alarm) and expand over time.

    Are apartment security devices worth the investment?

    Absolutely. Studies show that visible apartment security devices reduce break-in risk by 50-60%. Even basic deterrence devices like cameras and alarm stickers significantly reduce your chances of being targeted. The cost of apartment security devices is minimal compared to the financial and emotional cost of a break-in.

    Next Steps for Apartment Security

    Apartment security devices are one component of a comprehensive urban preparedness strategy. Combine your security setup with strong urban situational awareness, a well-stocked apartment emergency kit, and the strategies outlined in our urban survival guide.

    For more advanced physical security measures, including door reinforcement and safe room setup, read our complete city home defense guide. And use our urban prepper checklist to ensure your apartment security devices are part of a complete preparedness plan.

  • The Grey Man Strategy: How to Blend In During an Urban Crisis

    The Grey Man Strategy: How to Blend In During an Urban Crisis

    The grey man strategy is one of the most valuable yet underappreciated skills in urban survival. In a crisis — whether it’s civil unrest, a natural disaster, or an economic collapse — being visibly prepared can make you a target. The grey man strategy teaches you to blend seamlessly into your environment, moving through urban spaces without attracting attention, confrontation, or unwanted interest.

    This comprehensive guide covers every aspect of the grey man strategy for city dwellers in 2026, from clothing and body language to gear concealment and behavioral techniques that keep you invisible when visibility could be dangerous.

    What Is the Grey Man Strategy?

    The grey man strategy is the practice of making yourself unremarkable and forgettable in any environment. The name comes from the concept of being “grey” — neither black (threatening) nor white (vulnerable), but completely neutral and unnoticeable. When you execute the grey man strategy effectively, people’s eyes pass over you without registering your presence.

    In urban survival contexts, the grey man strategy serves several critical purposes:

    • Avoid becoming a target — Criminals and desperate people target those who appear to have resources
    • Move freely during crises — Blend with crowds to navigate dangerous areas
    • Protect your supplies — Conceal the fact that you’re prepared when others aren’t
    • Reduce confrontation risk — People don’t confront what they don’t notice
    • Maintain operational security — Keep your preparedness level private

    The Psychology Behind the Grey Man Strategy

    The grey man strategy works because of how human attention functions. Our brains are wired to notice things that stand out — unusual clothing, confident movement in a panicked crowd, tactical gear, or any deviation from the environmental baseline. The grey man strategy exploits this by ensuring you match every aspect of your environment’s baseline.

    Understanding urban situational awareness helps you implement the grey man strategy more effectively. The same observation skills that help you spot threats also help you understand what “normal” looks like in any given environment — which is exactly what you need to mimic.

    Grey Man Strategy: Clothing and Appearance

    The Rules of Grey Man Clothing

    Clothing is the most visible element of the grey man strategy. Follow these principles:

    1. Match your environment — Wear what the majority of people around you wear. In a business district, that means business casual. In a residential neighborhood, casual everyday clothing.
    2. Avoid tactical and military gear — Nothing screams “I’m prepared” louder than 5.11 pants, MOLLE backpacks, and combat boots. The grey man strategy requires civilian-looking alternatives.
    3. Choose neutral colors — Grey, navy, khaki, brown, and muted tones. Avoid bright colors, bold patterns, or anything memorable.
    4. Avoid logos and branding — Distinctive logos make you memorable. The grey man strategy demands forgettable clothing.
    5. Dress for the weather appropriately — Wearing a heavy jacket on a warm day draws attention. Match the weather.

    Grey Man Strategy Wardrobe Essentials

    • Plain grey or navy t-shirts and long-sleeve shirts
    • Standard jeans or khaki pants (not cargo pants with visible tactical features)
    • Neutral-colored sneakers or casual shoes (not hiking boots or combat boots)
    • A plain baseball cap or beanie (changes your silhouette and partially conceals your face)
    • A nondescript jacket appropriate for the season
    • A regular-looking backpack or messenger bag (not a tactical pack)

    Grey Man Strategy: Body Language and Behavior

    Clothing is only half the grey man strategy. Your behavior and body language must also blend with your environment.

    Movement Principles

    • Match the pace of those around you — Walking faster or slower than the crowd draws attention
    • Avoid purposeful scanning — Practice situational awareness subtly, using peripheral vision and reflective surfaces
    • Mirror the emotional state of the crowd — If people are anxious, appear anxious. If calm, appear calm. Emotional mismatch is highly noticeable.
    • Don’t make prolonged eye contact — Brief, natural eye contact is normal. Staring or avoiding all eye contact both draw attention.
    • Avoid confident, military-style posture — Relaxed, slightly slouched posture is more common and less memorable.

    Behavioral Rules

    1. Don’t display knowledge or competence — In a crisis, appearing to know what you’re doing marks you as someone with resources and training
    2. Avoid leadership behavior — Don’t organize, direct, or take charge in public during a crisis
    3. Don’t eat or drink in public when others can’t — Nothing breaks the grey man strategy faster than eating when everyone else is hungry
    4. Keep conversations minimal and generic — Don’t discuss your preparations, supplies, or plans with strangers
    5. Use technology normally — Looking at your phone occasionally is normal; never looking at it or constantly checking it both stand out

    Grey Man Strategy: Concealing Your Gear

    A critical component of the grey man strategy is concealing your preparedness gear in plain sight.

    The Grey Man Bug-Out Bag

    Your bug-out bag should look like an ordinary commuter bag. The grey man strategy demands:

    • Use a standard backpack — JanSport, Herschel, or any common brand. Avoid anything with MOLLE webbing, tactical patches, or military styling.
    • Keep it reasonably sized — An oversized pack draws attention. A normal-looking 25-35L daypack is ideal.
    • Conceal tactical items — Wrap tools in clothing, use internal organizers, and avoid anything visible through mesh pockets.
    • Carry a decoy layer — Keep a laptop sleeve, book, or lunch container on top so a casual glance reveals nothing unusual.

    Everyday Carry (EDC) Concealment

    The grey man strategy extends to your everyday carry items:

    • Multi-tools that look like regular pocket knives or keychains
    • Flashlights that resemble pens or phone accessories
    • First aid supplies in a regular toiletry bag
    • Water purification tablets in a vitamin bottle
    • Emergency cash distributed across multiple pockets

    Grey Man Strategy in Different Urban Scenarios

    During Civil Unrest

    The grey man strategy is most critical during civil unrest. Avoid protest areas, but if caught in one, match the crowd’s energy without participating. Move toward the edges of crowds where escape routes exist. Don’t wear anything that identifies you with any faction.

    During Natural Disasters

    After a natural disaster, the grey man strategy helps you avoid desperate individuals. Don’t display food, water, or supplies openly. Travel during low-traffic hours when possible. Appear as affected as everyone else, even if you’re well-prepared.

    During Evacuation

    The grey man strategy during evacuation means blending with the flow of evacuees. Don’t display expensive gear, don’t appear overly organized, and don’t draw attention to your vehicle’s supplies. Keep your emergency kit in nondescript containers.

    In Daily Life (OPSEC)

    The grey man strategy applies to everyday operational security too. Don’t advertise your preparedness on social media, don’t discuss your supplies with casual acquaintances, and don’t let delivery drivers see your stockpile. The grey man strategy is a lifestyle, not just a crisis response.

    Grey Man Strategy Mistakes That Get You Noticed

    1. The “tactical tourist” — Wearing one piece of tactical gear with civilian clothing. A single MOLLE pouch or tactical watch can undo your entire grey man strategy.
    2. Over-preparation visible — Carrying too much gear in a bag that’s obviously heavy and overstuffed.
    3. Physical fitness mismatch — Being noticeably more fit and capable than those around you during a crisis. Downplay your physical capabilities.
    4. Clean and well-fed appearance — During extended emergencies, appearing too clean or well-nourished breaks the grey man strategy.
    5. Vehicle tells — Tactical stickers, roof racks loaded with gear, or a vehicle that’s obviously prepared for off-grid travel.

    Advanced Grey Man Strategy Techniques

    The Chameleon Approach

    Advanced grey man strategy practitioners carry items that allow quick appearance changes:

    • A reversible jacket (two different colors/styles)
    • A hat that can be added or removed
    • Glasses (even non-prescription) that change your facial appearance
    • A different bag cover or stuff sack that changes your pack’s appearance

    Route Selection

    The grey man strategy extends to how you move through the city:

    • Avoid main thoroughfares where crowds and checkpoints concentrate
    • Use parallel side streets that offer the same direction with less exposure
    • Know your city’s alleyways, cut-throughs, and pedestrian paths
    • Avoid bottleneck points (bridges, tunnels, narrow streets) where you can be trapped

    Frequently Asked Questions About the Grey Man Strategy

    Is the grey man strategy the same as being a coward?

    No. The grey man strategy is a tactical decision to avoid unnecessary confrontation and preserve your resources for protecting your family. Military special forces use grey man principles extensively. It takes more discipline to remain unnoticed than to draw attention to yourself.

    Can women use the grey man strategy effectively?

    Absolutely. The grey man strategy applies equally to all genders. Women can implement the same principles of environmental matching, neutral clothing, baseline behavior, and gear concealment. The key is matching whatever is “normal” for your specific environment.

    How do I practice the grey man strategy?

    Practice the grey man strategy during daily activities. Try to move through a crowded area without anyone making eye contact or remembering you. Ask a friend to observe you in a public space and report what stands out. Gradually refine your approach based on feedback.

    Does the grey man strategy conflict with situational awareness?

    No — they complement each other perfectly. Urban situational awareness is practiced internally while the grey man strategy manages your external presentation. You can be highly alert while appearing completely unremarkable. The best practitioners of the grey man strategy are also the most situationally aware.

    Integrating the Grey Man Strategy Into Your Urban Survival Plan

    The grey man strategy is one component of a comprehensive urban preparedness approach. Combine it with solid city home defense, a complete urban survival guide knowledge base, and the practical steps in our urban prepper checklist.

    Remember: the best-prepared urban prepper is the one nobody suspects is prepared at all. That’s the essence of the grey man strategy — and it could be the difference between getting home safely and becoming a target during the next urban crisis.

  • The Urban Shield: A Professional Guide to City Home Defense

    The Urban Shield: A Professional Guide to City Home Defense

    City home defense is no longer optional for urban residents in 2026. With rising property crime rates in metropolitan areas, protecting your apartment or city home requires a strategic, layered approach that goes far beyond a simple deadbolt lock. This professional guide to city home defense covers everything you need to know — from hardening your entry points to building a complete urban security system.

    Whether you rent a studio apartment or own a townhouse, these city home defense strategies will help you create multiple layers of protection that deter, detect, delay, and defend against threats. Every recommendation in this guide has been tested in real urban environments and adapted for the unique challenges city dwellers face.

    Why City Home Defense Is Different from Rural Security

    City home defense presents unique challenges that rural homeowners never encounter. In dense urban environments, you’re dealing with shared walls, limited exterior space, building regulations, and proximity to potential threats. Understanding these differences is the first step toward effective city home defense.

    Urban homes typically have multiple vulnerability points: main entry doors, windows accessible from fire escapes, shared hallways, and parking garage access points. Unlike rural properties where distance provides a natural buffer, city homes require concentrated defensive layers within a compact space.

    The good news? Modern city home defense technology has evolved dramatically. Smart security systems, reinforced door hardware, and wireless alarm systems make it possible to create fortress-level protection without permanent modifications — perfect for renters and homeowners alike.

    The 4 Layers of Effective City Home Defense

    Professional security experts recommend a four-layer approach to city home defense. Each layer serves a specific purpose and works together to create comprehensive protection.

    Layer 1: Deterrence — Making Your Home a Hard Target

    The first layer of city home defense focuses on deterrence. Most urban criminals are opportunistic — they choose the easiest target available. Your goal is to make your home look like more trouble than it’s worth.

    • Visible security cameras — Even dummy cameras reduce break-in attempts by up to 50%
    • Smart lighting — Motion-activated lights at entry points signal an alert household
    • Security system signage — Display stickers from reputable alarm companies
    • Reinforced door frames — Visible strike plate reinforcement tells experienced criminals to move on

    For apartment dwellers, check out our guide on the best apartment security devices for renters for non-permanent deterrence options that won’t violate your lease.

    Layer 2: Detection — Early Warning Systems

    Detection is the second critical layer of city home defense. You need to know about threats before they reach your door. Modern detection systems for urban homes include:

    • Smart doorbell cameras — Ring, Nest, or Eufy doorbells provide 24/7 monitoring with motion alerts
    • Window and door sensors — Wireless sensors that alert your phone when opened
    • Glass break detectors — Acoustic sensors that detect the sound of breaking glass
    • Motion sensors — Interior PIR sensors for when you’re away
    • Smart locks with activity logs — Track every entry and exit with timestamps

    Developing strong urban situational awareness complements your electronic detection systems. Technology fails; trained observation skills don’t.

    Layer 3: Delay — Buying Time When It Matters

    If deterrence and detection fail, the delay layer of city home defense buys you critical time to respond. Every second counts during a home invasion, and these measures can add minutes to an intruder’s timeline:

    • Door reinforcement kits — Products like Door Armor or StrikeMaster II Pro can withstand multiple kicks
    • Security film on windows — 3M Safety Film holds glass together even after impact
    • Secondary locks — Chain locks, door bars, and floor-mounted door stops
    • Interior door reinforcement — Strengthen your bedroom door as a last line of defense

    Layer 4: Defense — Your Last Resort Plan

    The final layer of city home defense is your personal defense plan. This includes:

    • Safe room designation — Identify the most defensible room in your home (usually the master bedroom)
    • Communication plan — Keep a charged phone in your safe room; know your local emergency response times
    • Emergency supplies — Flashlight, first aid kit, and phone charger in your safe room
    • Family action plan — Everyone in the household should know exactly what to do

    Door Reinforcement: The #1 City Home Defense Upgrade

    According to FBI statistics, over 65% of home burglaries involve forced entry through a door. This makes door reinforcement the single most impactful city home defense upgrade you can make.

    How to Reinforce Your Front Door

    Most apartment and city home doors fail at three points: the strike plate, the door frame, and the hinges. Here’s how to address each weakness:

    1. Upgrade the strike plate — Replace the standard 1-inch screws with 3.5-inch screws that anchor into the wall stud. Install a reinforced strike plate that distributes force across a larger area.
    2. Reinforce the door frame — Door frame reinforcement kits wrap the vulnerable areas with steel plates. The Door Armor MAX kit is the gold standard for city home defense.
    3. Secure the hinges — Replace hinge screws with 3.5-inch versions. Add hinge pins or security studs to prevent door removal.
    4. Add a door bar or security bar — Floor-mounted door bars like the Buddybar provide incredible resistance against forced entry.
    5. Install a smart deadbolt — Grade 1 deadbolts with smart features give you both strength and convenience.

    This entire upgrade can be completed in under two hours and costs less than $150 — making it the best return on investment for city home defense.

    Window Security for Urban Apartments

    Windows are the second most common entry point for urban break-ins. City home defense for windows requires a different approach depending on your floor level and window type.

    Ground Floor and Fire Escape Windows

    These are your highest-risk windows. Effective city home defense measures include:

    • Window security film — Apply 8-mil or thicker security film to hold glass together after impact
    • Window locks and pins — Add secondary locks that prevent windows from being opened more than a few inches
    • Window alarms — Vibration-sensing alarms that trigger when glass is disturbed
    • Security bars (removable) — Quick-release interior bars that provide maximum protection while allowing emergency egress

    Upper Floor Windows

    While less vulnerable, upper floor windows still need attention in your city home defense plan:

    • Window sensors connected to your alarm system
    • Locking mechanisms on all accessible windows
    • Privacy film to prevent visual surveillance of your home’s interior

    Smart Home Security Systems for City Home Defense

    Modern smart home security has revolutionized city home defense. The best systems for urban environments in 2026 offer:

    Top Recommended Systems

    1. SimpliSafe — No contract, easy installation, perfect for renters. Includes door/window sensors, motion detectors, and 24/7 monitoring.
    2. Ring Alarm Pro — Integrates with Ring cameras and doorbells for a complete ecosystem. Built-in Wi-Fi 6 router with backup internet.
    3. Abode — Highly customizable with support for Z-Wave, Zigbee, and HomeKit devices. Great for tech-savvy urban preppers.

    When choosing a system for city home defense, prioritize: cellular backup (in case internet is cut), battery backup (for power outages), and professional monitoring with fast police dispatch.

    Building a Safe Room in Your City Home

    A safe room is the ultimate city home defense feature. In an urban setting, you don’t need a purpose-built bunker — you need a reinforced room that buys you time until help arrives.

    Converting a Bedroom into a Safe Room

    1. Reinforce the door — Install a solid-core door with a Grade 1 deadbolt and door reinforcement kit
    2. Stock emergency supplies — First aid kit, flashlight, charged phone, water, and any necessary medications
    3. Install communication — Keep a landline or charged cell phone; consider a two-way radio
    4. Add a secondary lock — A door bar or barricade device provides additional security

    Your safe room should be part of your broader urban survival strategy. Build your apartment emergency kit and keep critical supplies in your designated safe room.

    City Home Defense on a Budget

    You don’t need thousands of dollars for effective city home defense. Here’s a prioritized budget plan:

    Under $50: Essential Basics

    • Door reinforcement screws (3.5-inch) — $8
    • Door security bar — $25
    • Window pins/locks — $12
    • Security system stickers/signs — $5

    Under $200: Solid Protection

    • Everything above, plus:
    • Door frame reinforcement kit — $75
    • Smart doorbell camera — $60
    • Window/door alarm sensors (4-pack) — $30

    Under $500: Comprehensive Defense

    • Everything above, plus:
    • Complete smart security system with monitoring — $200
    • Window security film — $50
    • Smart deadbolt lock — $150

    City Home Defense for Renters

    Renters face unique city home defense challenges — you can’t make permanent modifications, and you need portable solutions. The good news is that most modern security products are designed with renters in mind.

    Key renter-friendly city home defense products include:

    • Portable door locks — Travel locks that work from inside without modification
    • Adhesive-mount cameras — No drilling required
    • Wireless alarm systems — Completely removable when you move
    • Door reinforcement bars — No installation needed

    For a complete list of renter-approved security products, see our detailed guide on apartment security devices for renters.

    Common City Home Defense Mistakes to Avoid

    Even well-intentioned city home defense efforts can backfire. Avoid these common mistakes:

    1. Relying on a single layer — A camera without an alarm, or a lock without reinforcement, leaves gaps
    2. Ignoring the human element — Technology supplements awareness; it doesn’t replace it
    3. Forgetting about fire safety — Security measures must allow emergency egress
    4. Neglecting digital security — Smart home devices need strong passwords and updated firmware
    5. Not testing your systems — Monthly tests ensure everything works when you need it

    City Home Defense Checklist

    Use this checklist to assess and improve your city home defense posture:

    • ☐ Front door reinforced (strike plate, frame, hinges)
    • ☐ Deadbolt installed (Grade 1 or 2)
    • ☐ All windows have secondary locks
    • ☐ Security system installed and monitored
    • ☐ Cameras covering entry points
    • ☐ Motion-activated exterior lighting
    • ☐ Safe room designated and stocked
    • ☐ Family emergency plan established
    • ☐ Neighbors aware of your security setup
    • ☐ Monthly system tests scheduled

    Download our complete urban prepper checklist for a comprehensive 30-90 day action plan that includes city home defense alongside other preparedness priorities.

    Frequently Asked Questions About City Home Defense

    What is the most effective city home defense upgrade?

    Door reinforcement is the most effective city home defense upgrade. Since over 65% of break-ins occur through doors, reinforcing your strike plate, door frame, and hinges with a kit like Door Armor MAX provides the highest return on investment for under $100.

    Can renters implement city home defense measures?

    Yes, renters can implement effective city home defense using non-permanent solutions like portable door locks, wireless alarm systems, adhesive-mount cameras, and door security bars. Most modern security products require no drilling or permanent modification.

    How much does a complete city home defense system cost?

    A comprehensive city home defense system costs between $300 and $800 for most urban apartments. This includes door reinforcement ($75-150), a smart security system ($150-300), cameras ($60-200), and window security measures ($50-100).

    Do smart security systems work during power outages?

    Quality smart security systems include battery backup that lasts 24-48 hours and cellular communication backup. Systems like SimpliSafe and Ring Alarm Pro continue operating during power outages, which is essential for reliable city home defense.

    What should I keep in my safe room?

    Your city home defense safe room should contain: a charged cell phone or landline, flashlight with extra batteries, first aid kit, water bottles, any necessary medications, a door barricade device, and a list of emergency contacts including local police non-emergency and emergency numbers.

    Final Thoughts on City Home Defense

    Effective city home defense is about creating multiple layers of protection that work together. No single product or strategy provides complete security — but a well-planned combination of deterrence, detection, delay, and defense measures can make your urban home significantly safer.

    Start with the highest-impact upgrades (door reinforcement and a basic alarm system), then build out your city home defense over time. Combine physical security with strong situational awareness habits and a solid urban survival plan for comprehensive protection.

    Remember: the goal of city home defense isn’t to build an impenetrable fortress. It’s to make your home a harder target than the alternatives, detect threats early, and buy yourself time to respond effectively. With the strategies in this guide, you’re well on your way to achieving exactly that.